If you want a more private and professional email setup, using your own domain with Proton Mail is a solid option.
It gives you a custom email address on a domain you control, while still benefiting from Proton Mail’s privacy-focused service. In this guide, I’ll walk through the setup process using Cloudflare DNS.
What you need before starting
Before you begin, make sure you have:
- a custom domain name
- a Proton Mail account with support for custom domains
- access to your DNS settings in Cloudflare or another DNS provider
Why use Proton Mail with a custom domain?
A setup like this gives you a few useful benefits:
- a more professional email identity
- better control over your domain and email setup
- Proton Mail’s privacy-focused ecosystem
- separation between your domain ownership and your email provider
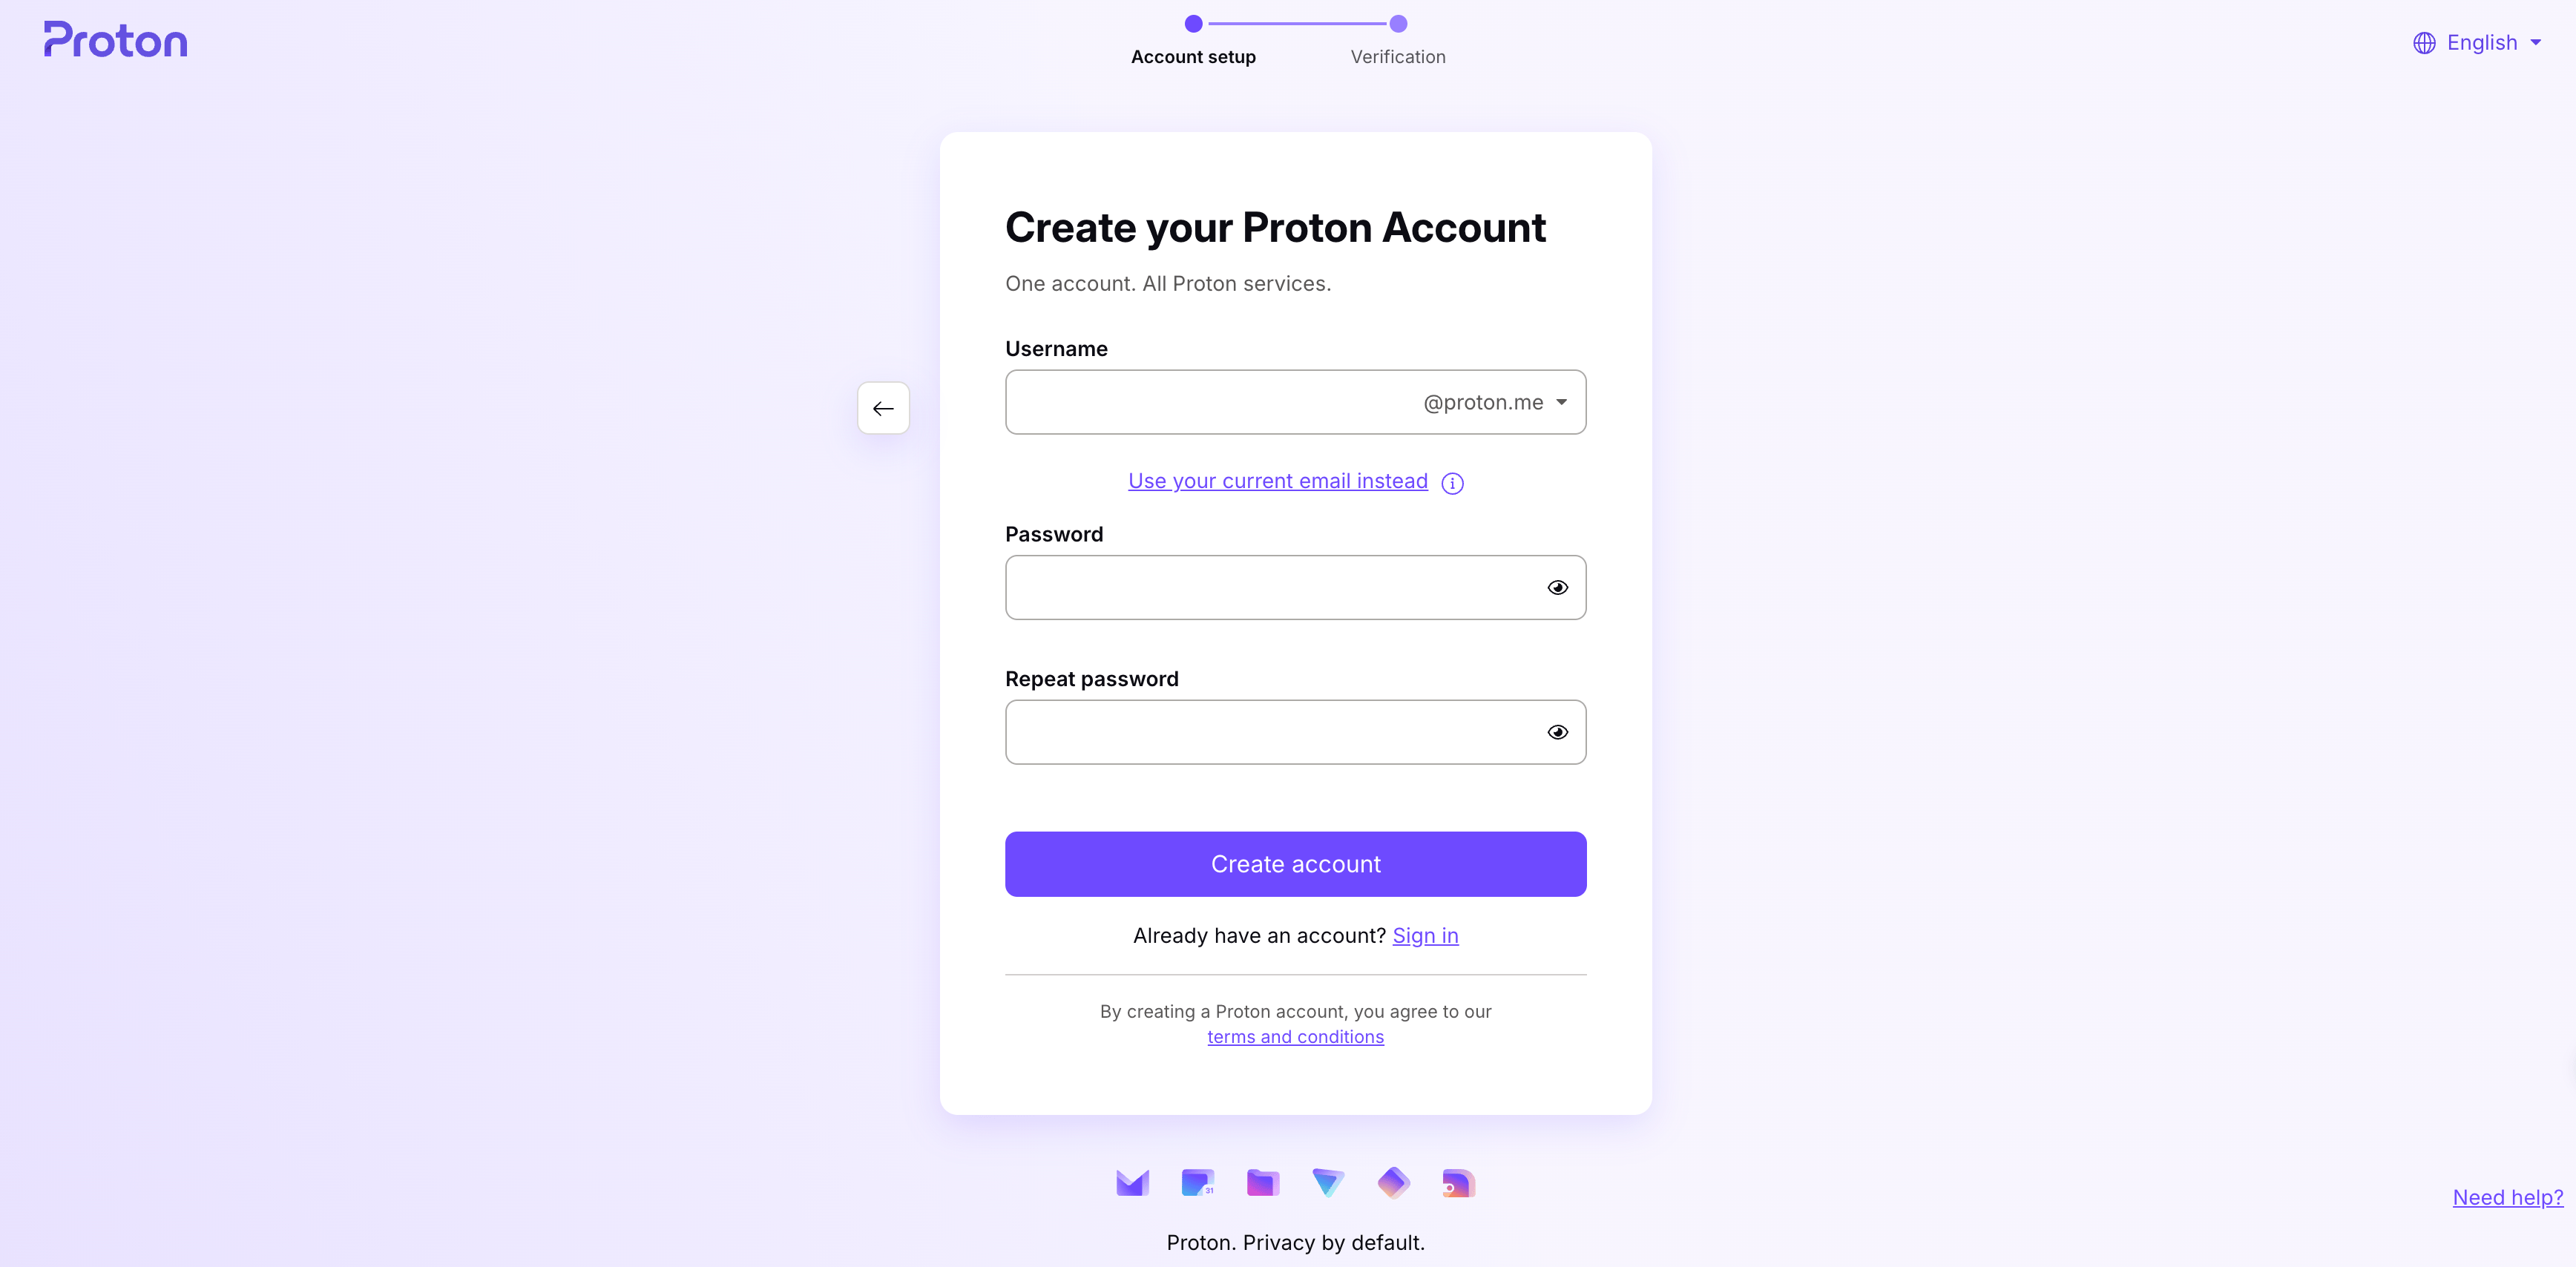
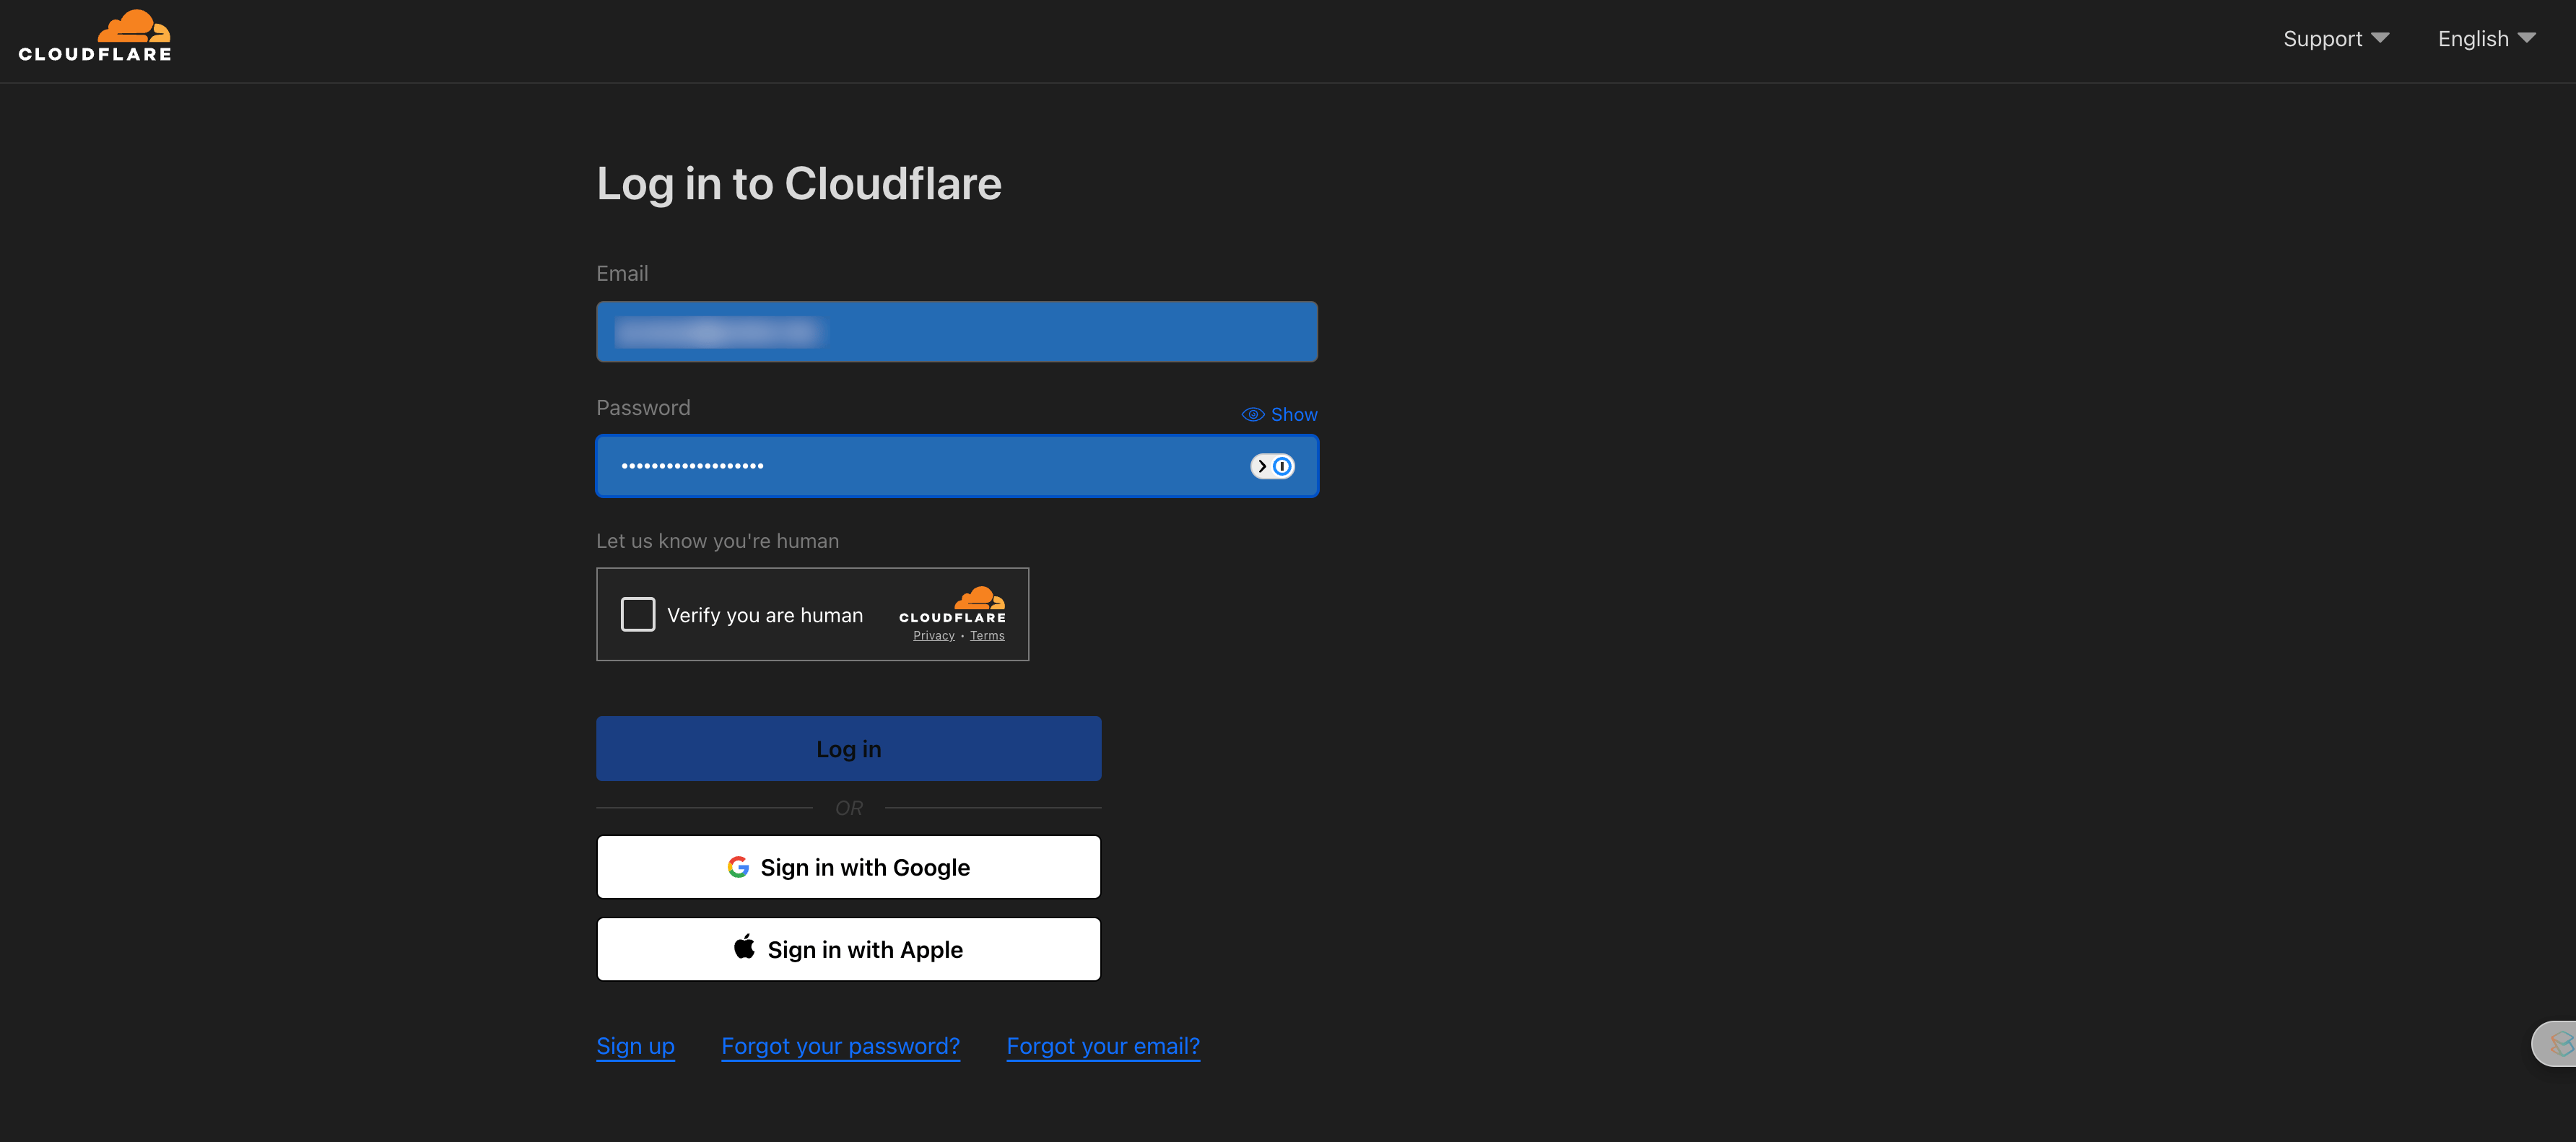
Step 1: Sign up for Proton Mail
- Visit the Proton Mail website.
- Choose a plan that supports custom domains.
- Finish the signup process.
Step 2: Add your custom domain
- Log in to Proton Mail.
- Open Settings using the gear icon in the top-right corner.

- Go to the Domain names section.
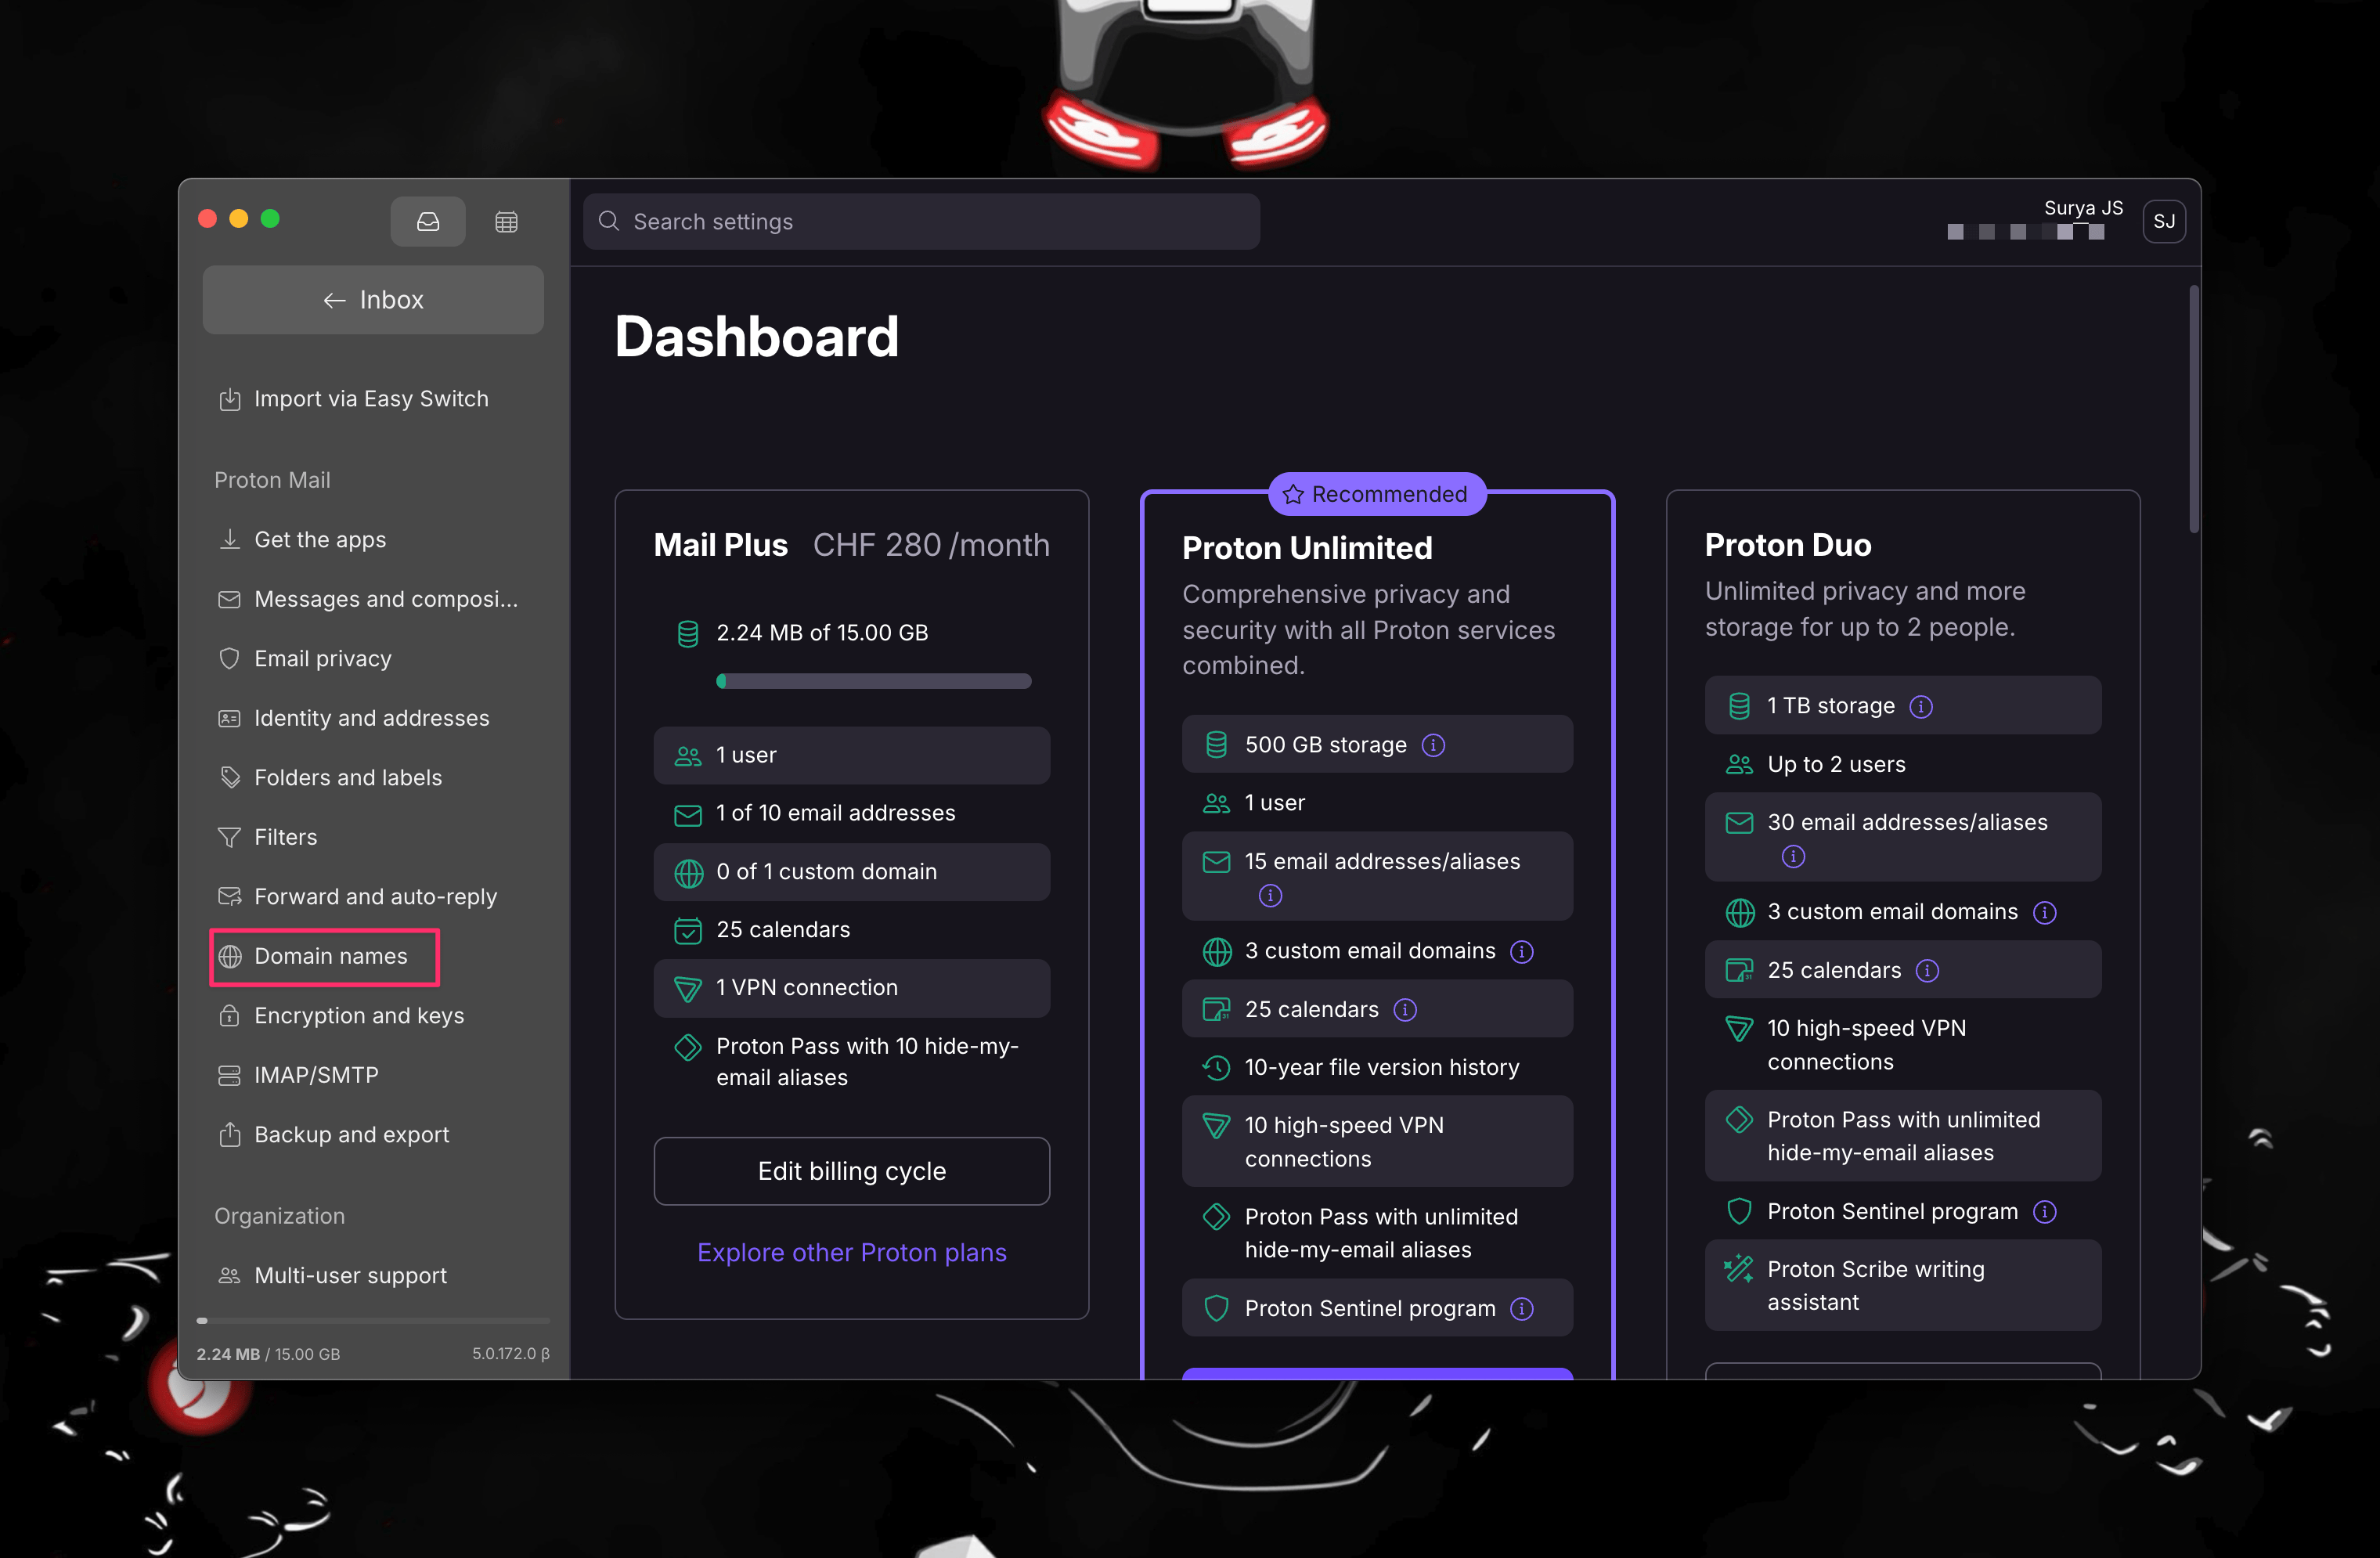
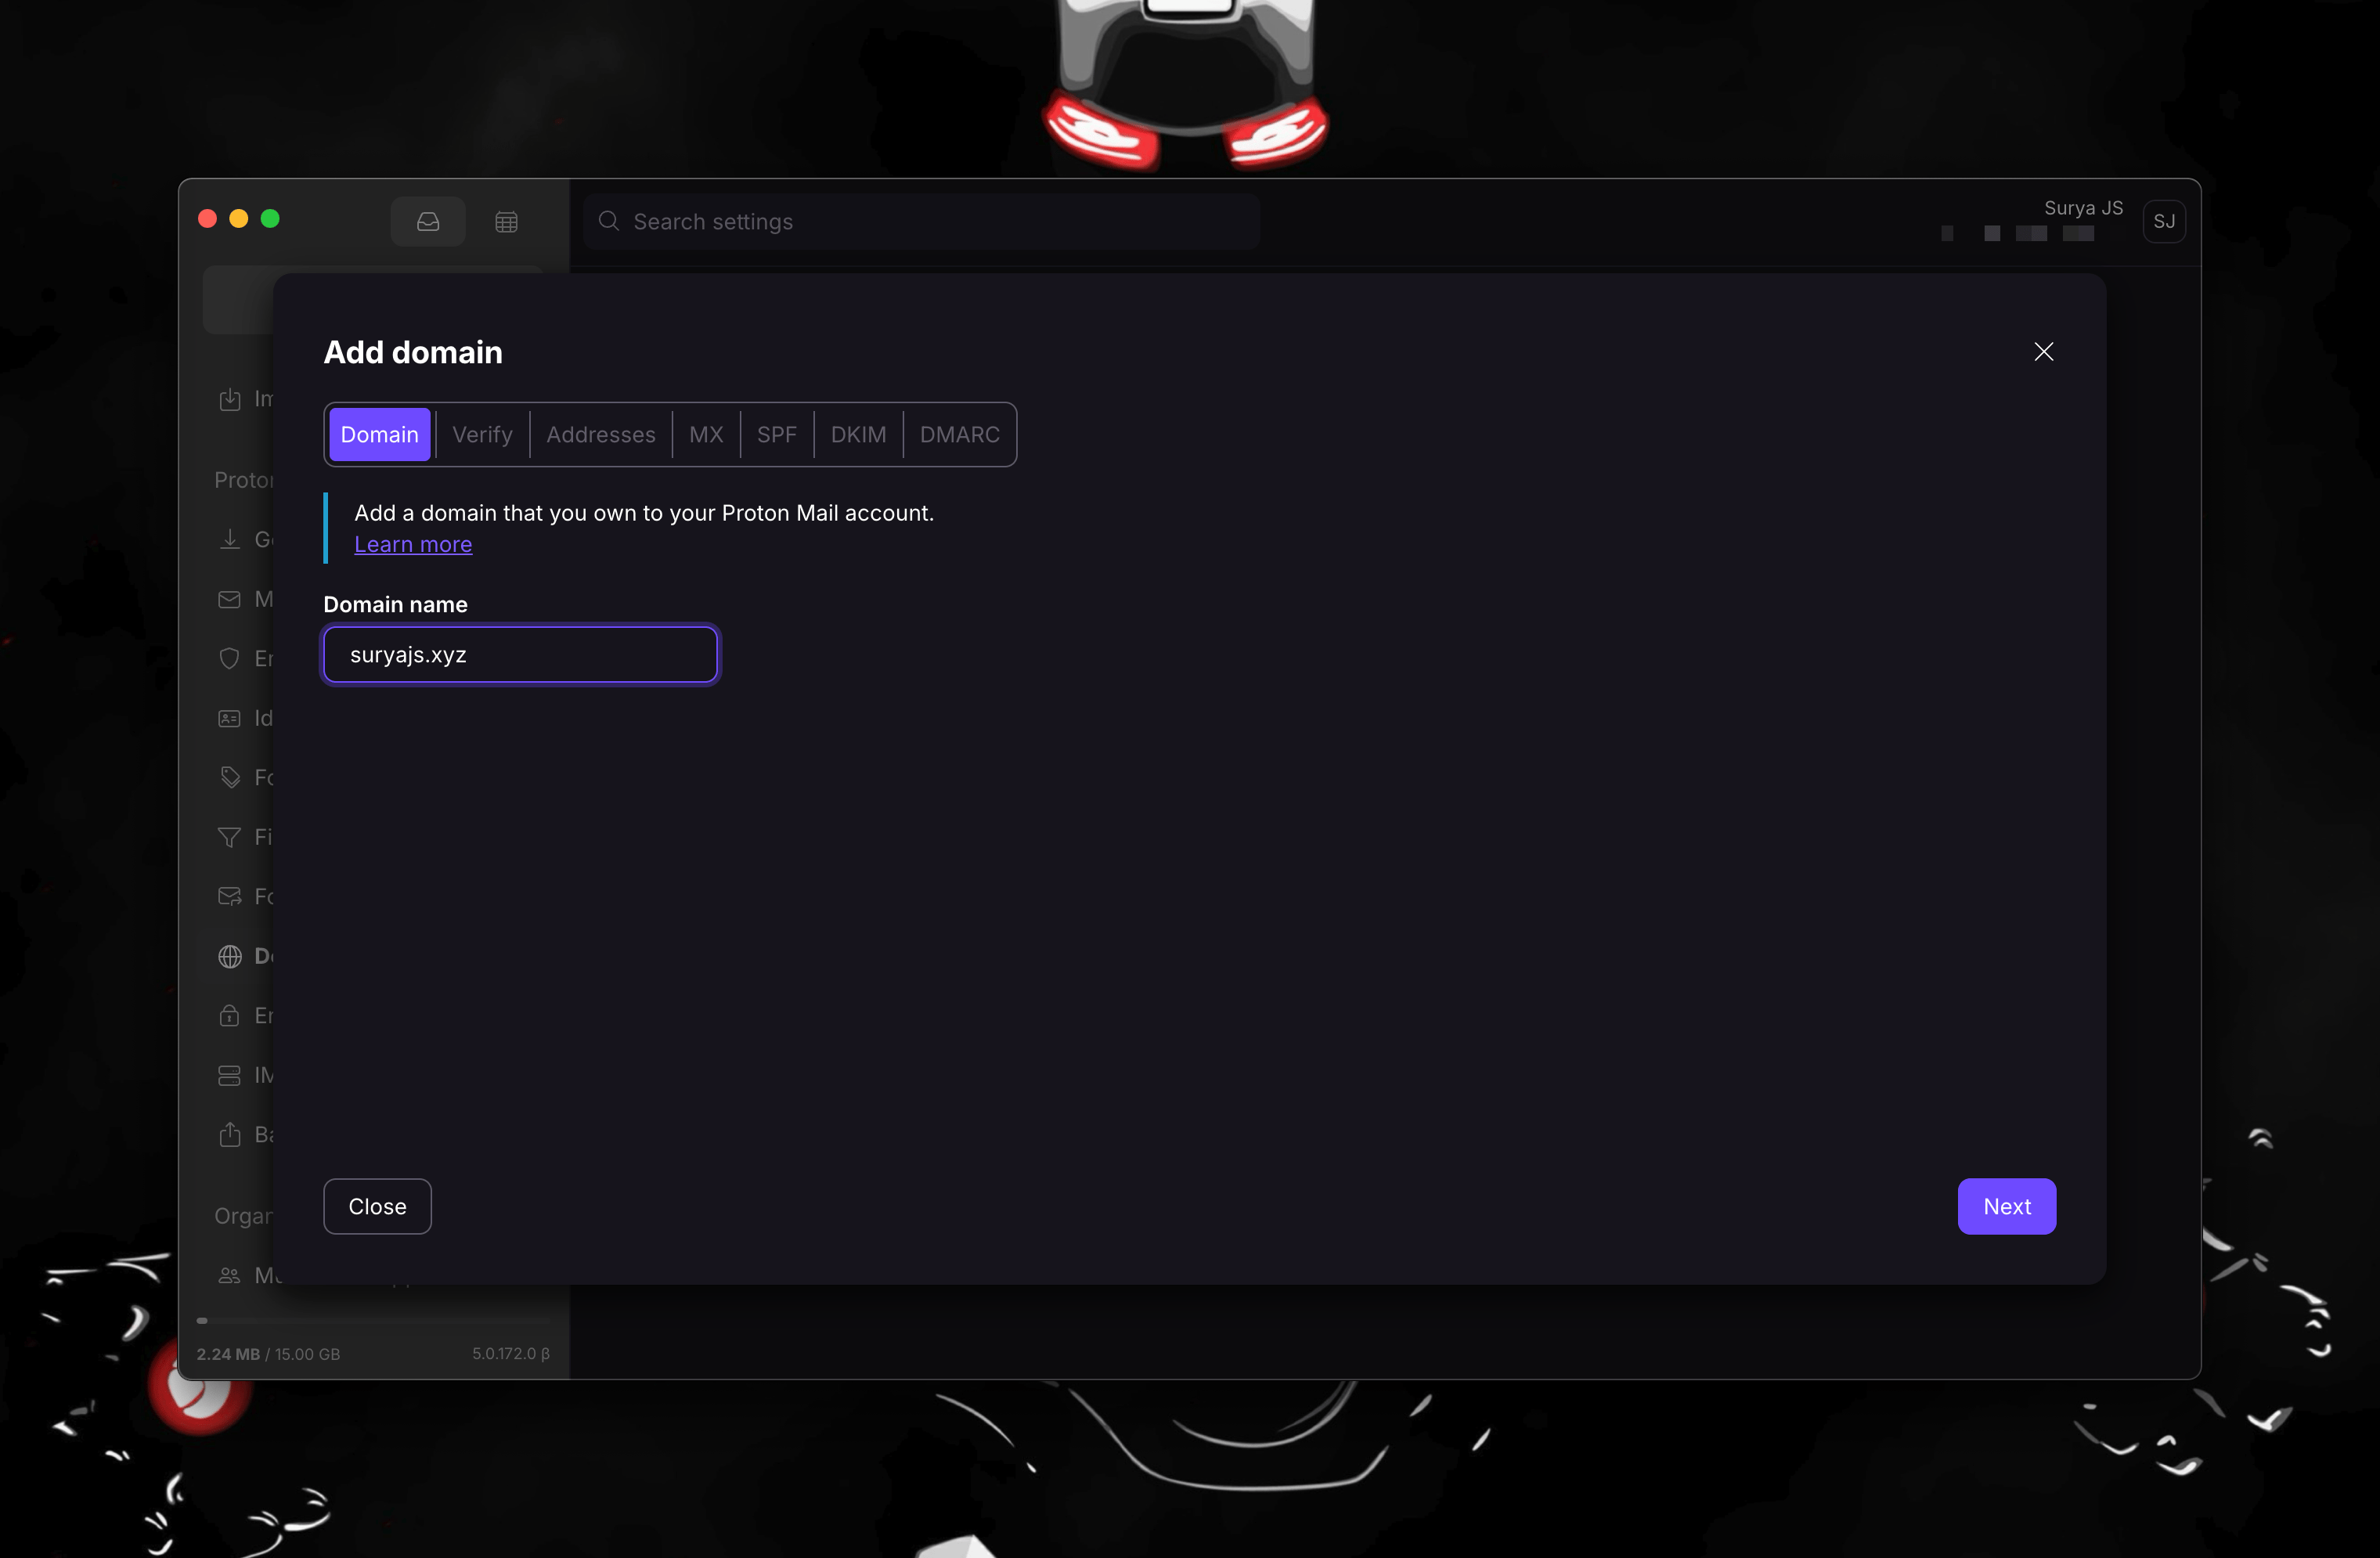
- Click Add Domain and enter your custom domain.
- Confirm with your Proton Mail password when prompted.
Step 3: Verify your domain
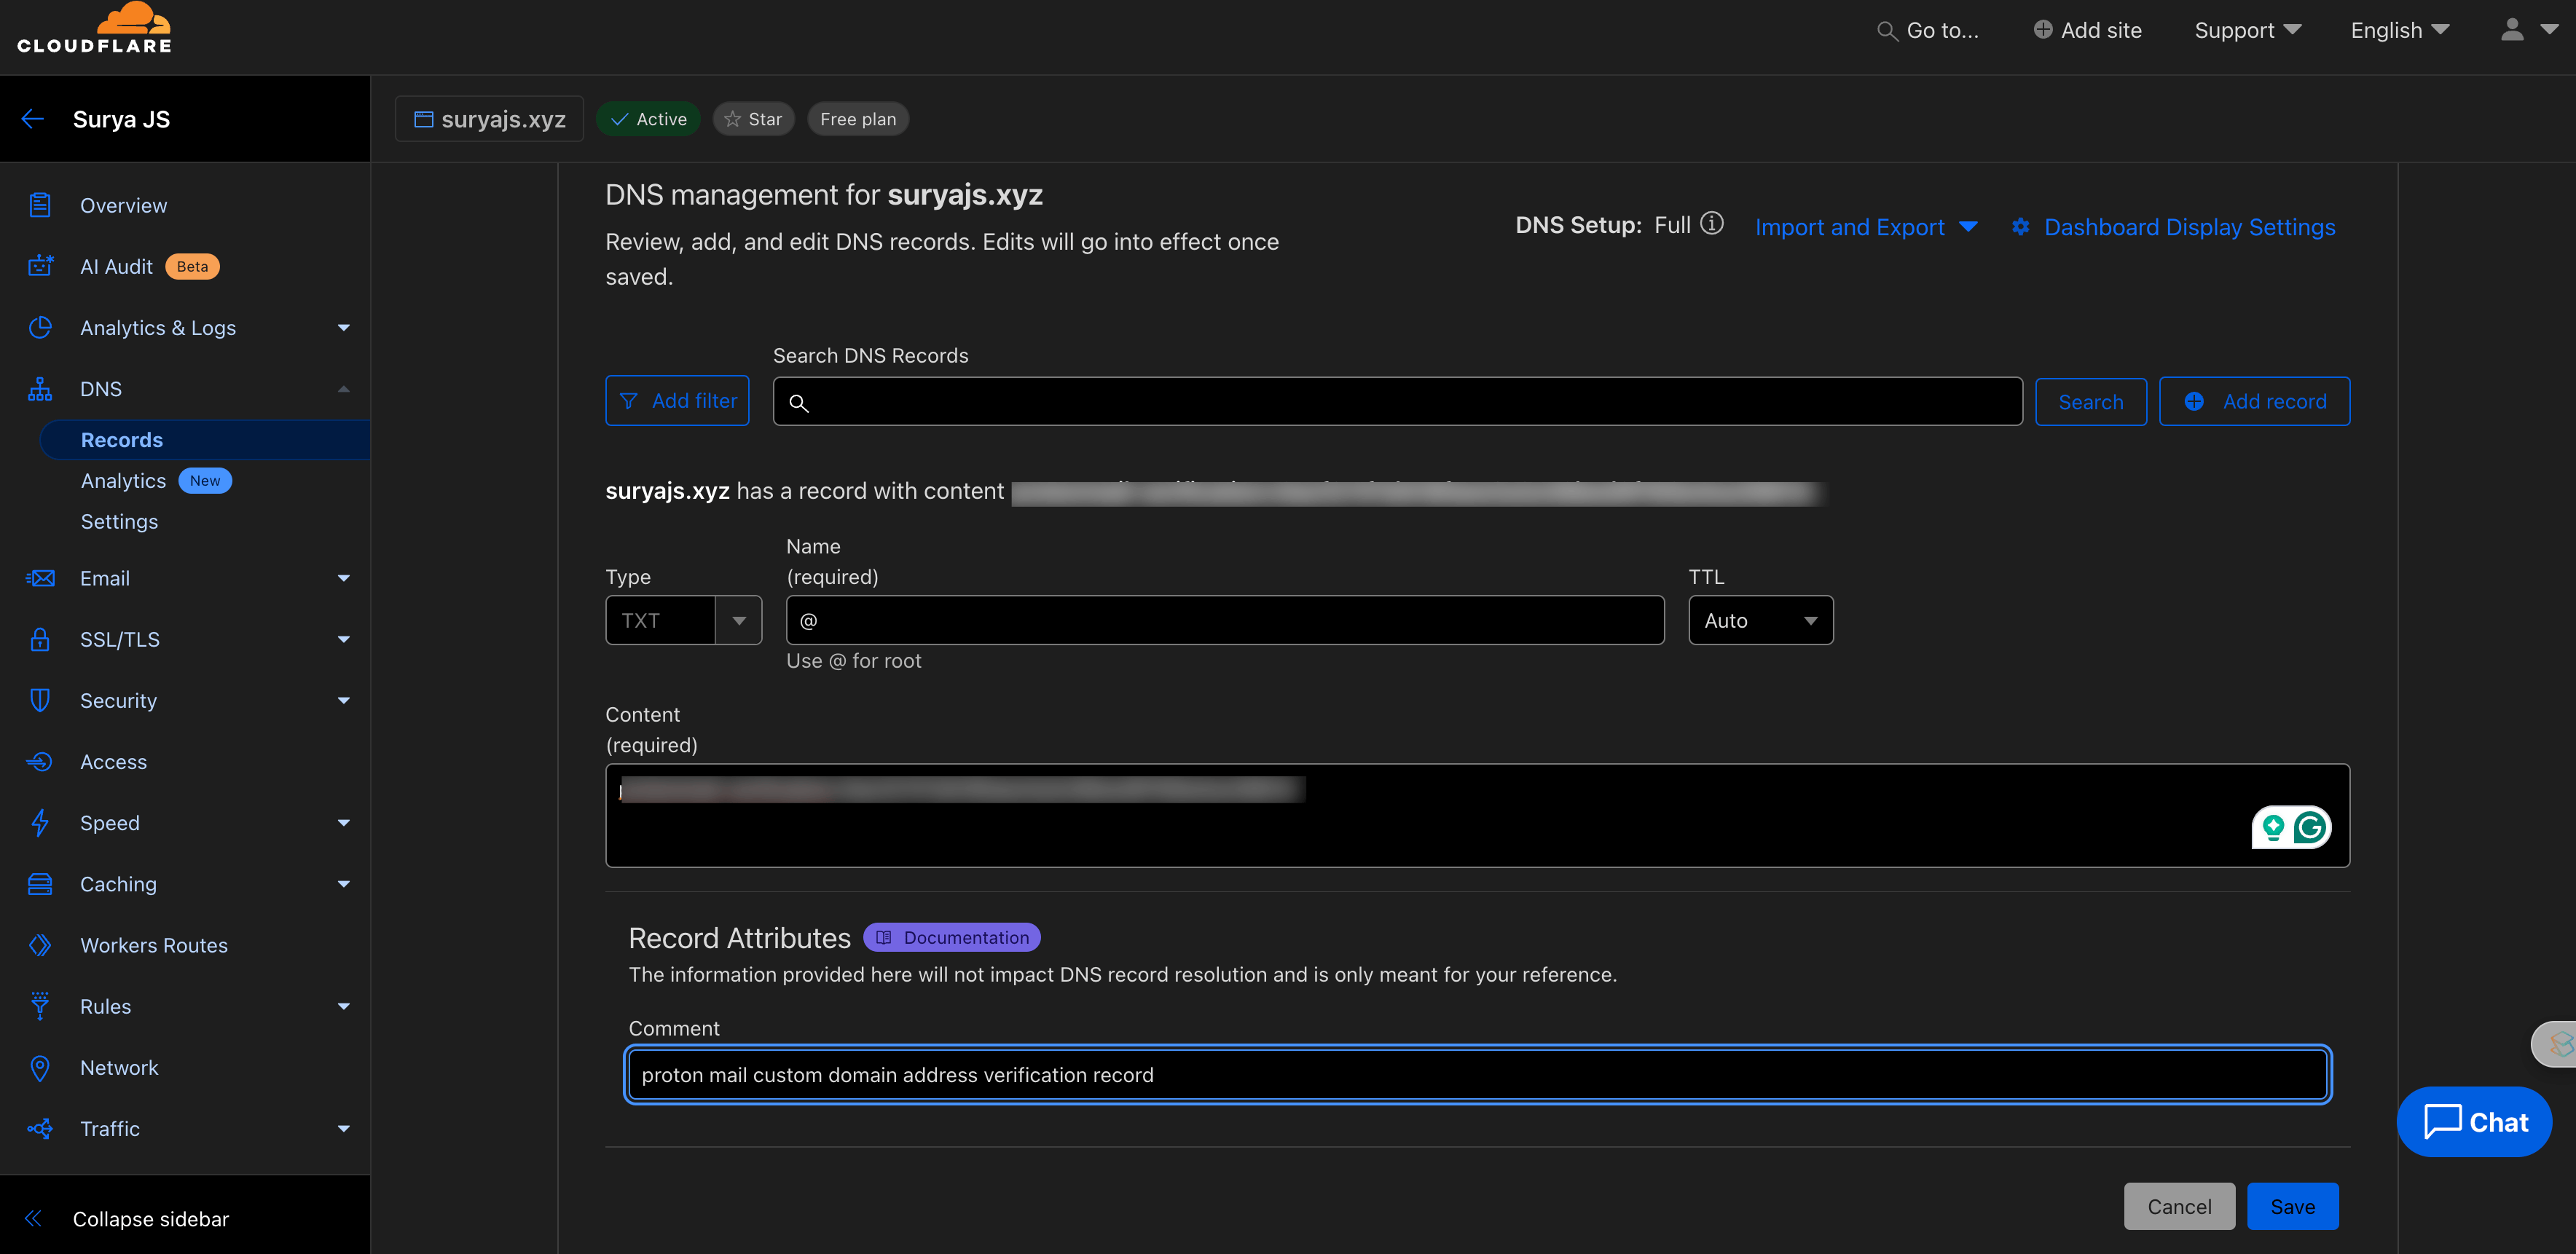
Proton Mail will give you a TXT record to add to your DNS settings.
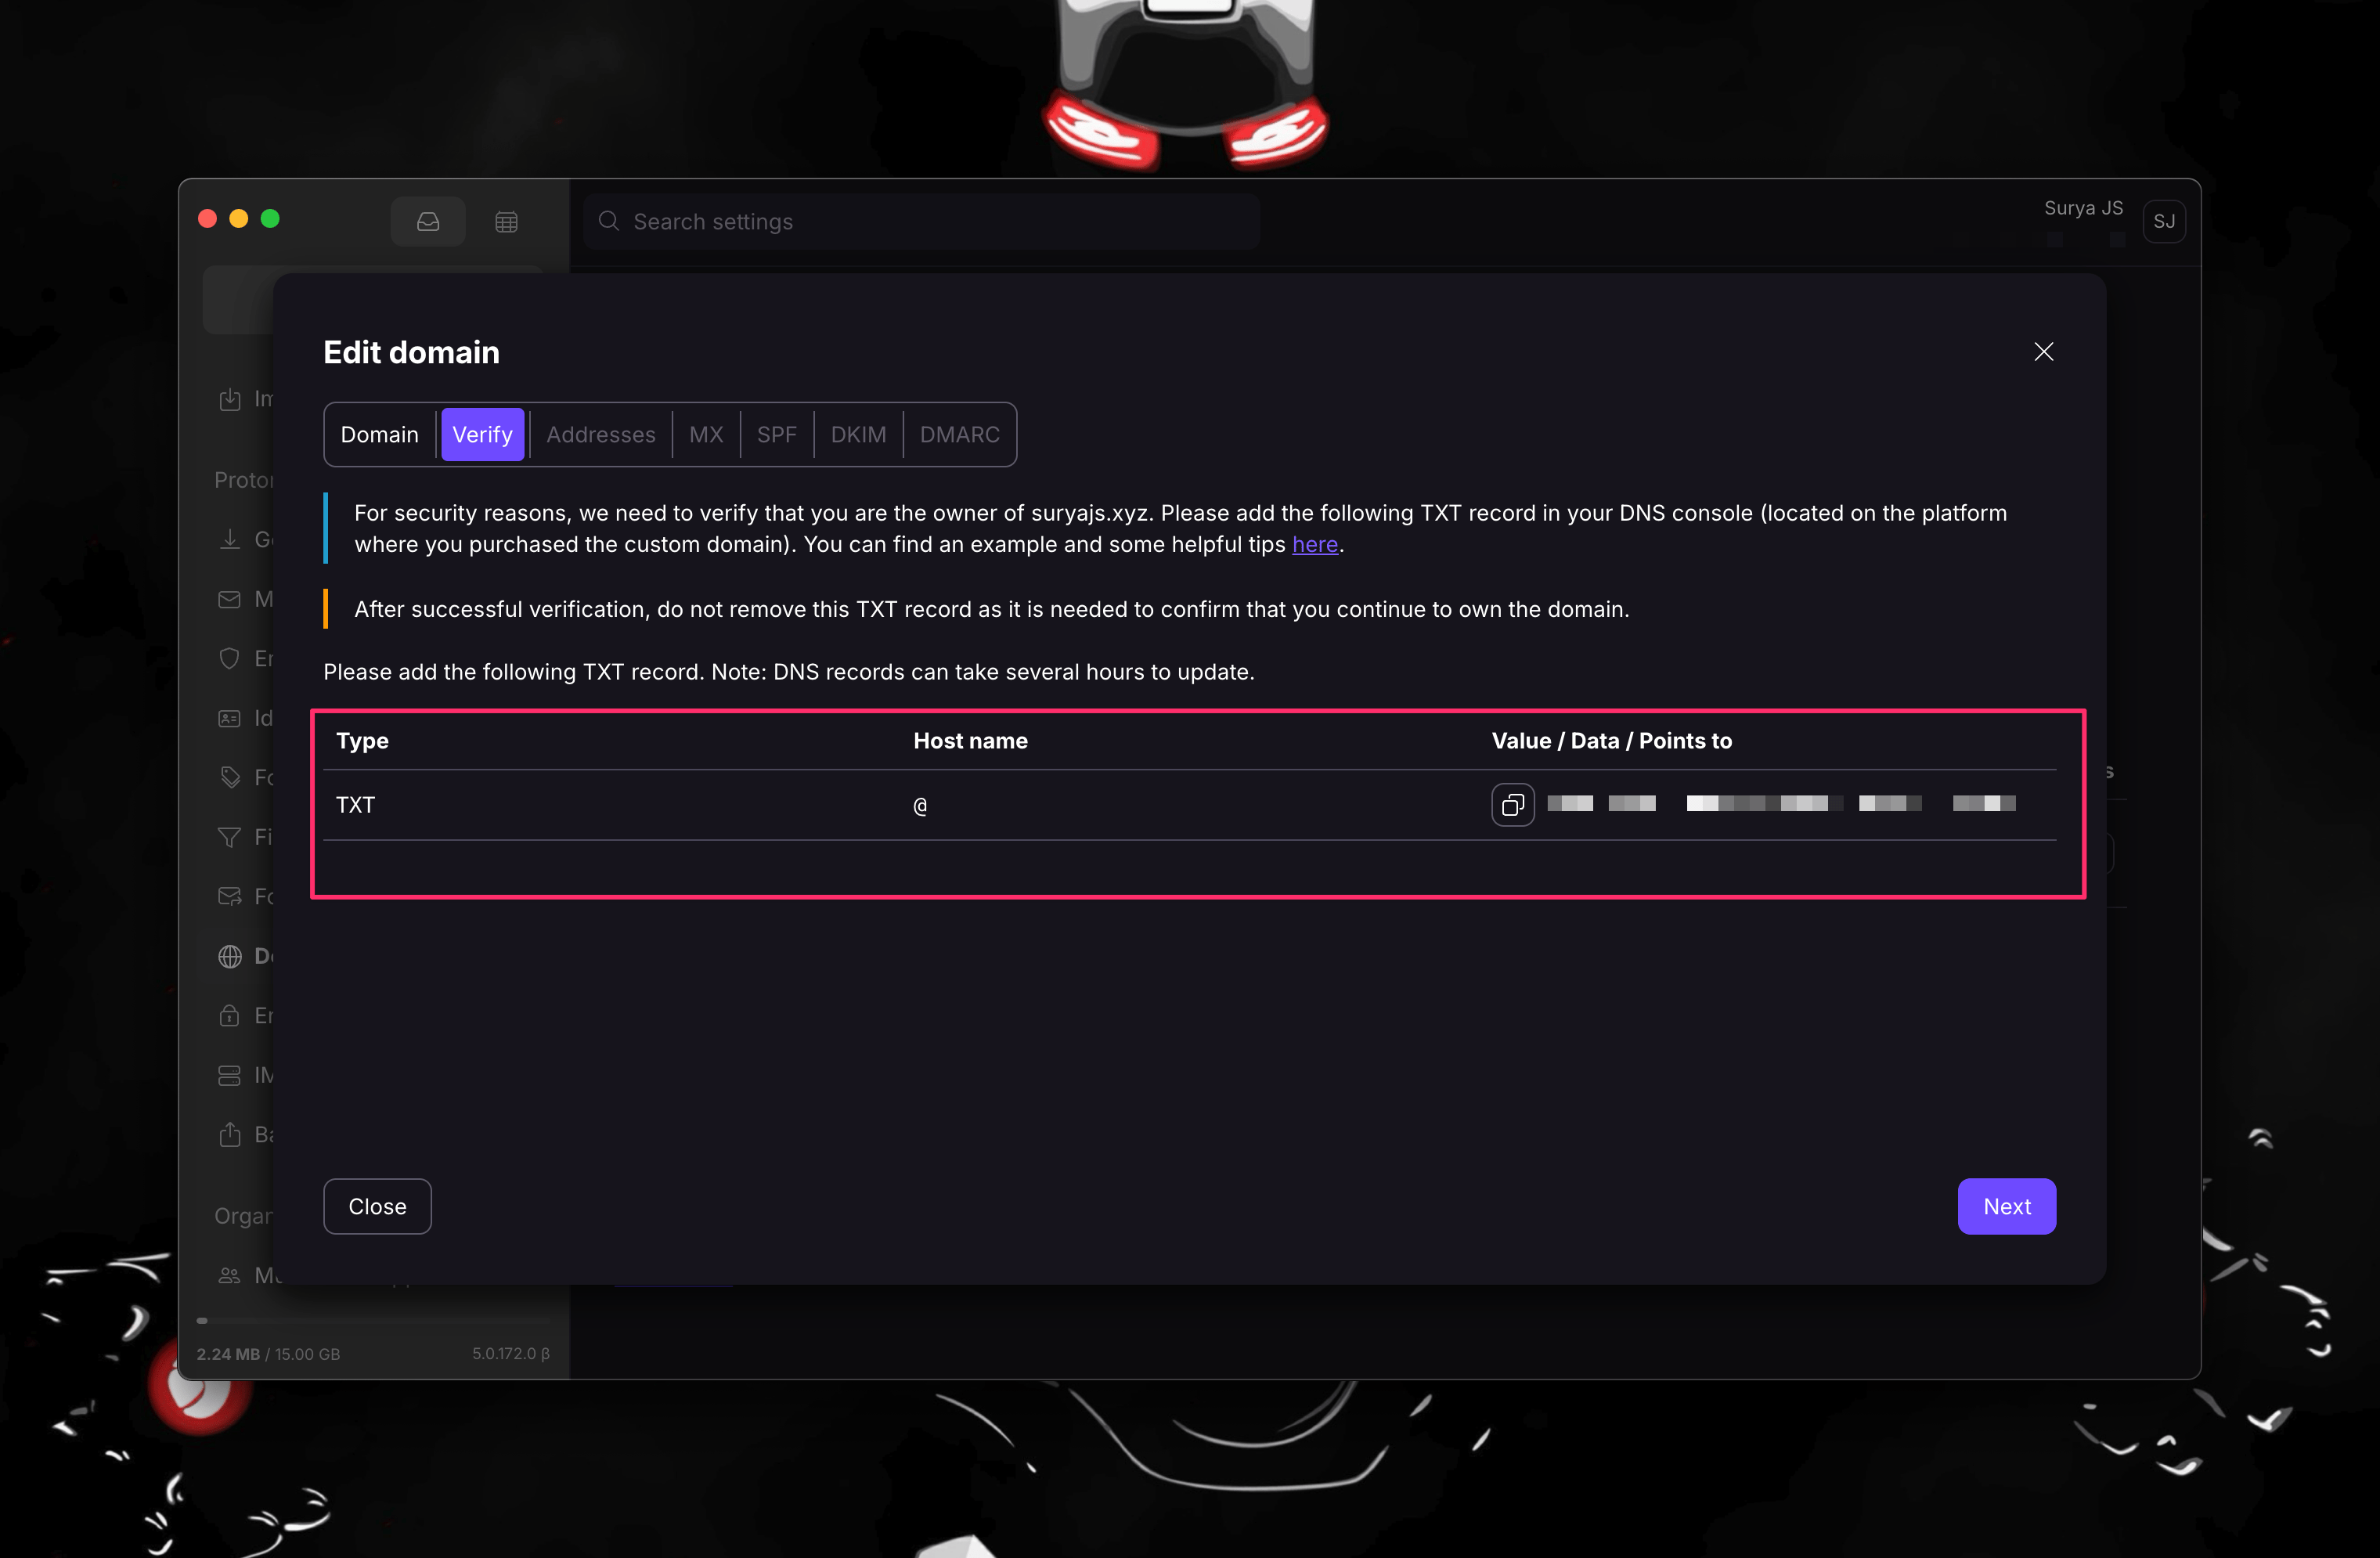
- Log in to Cloudflare or your domain provider.
- Open the DNS management section.
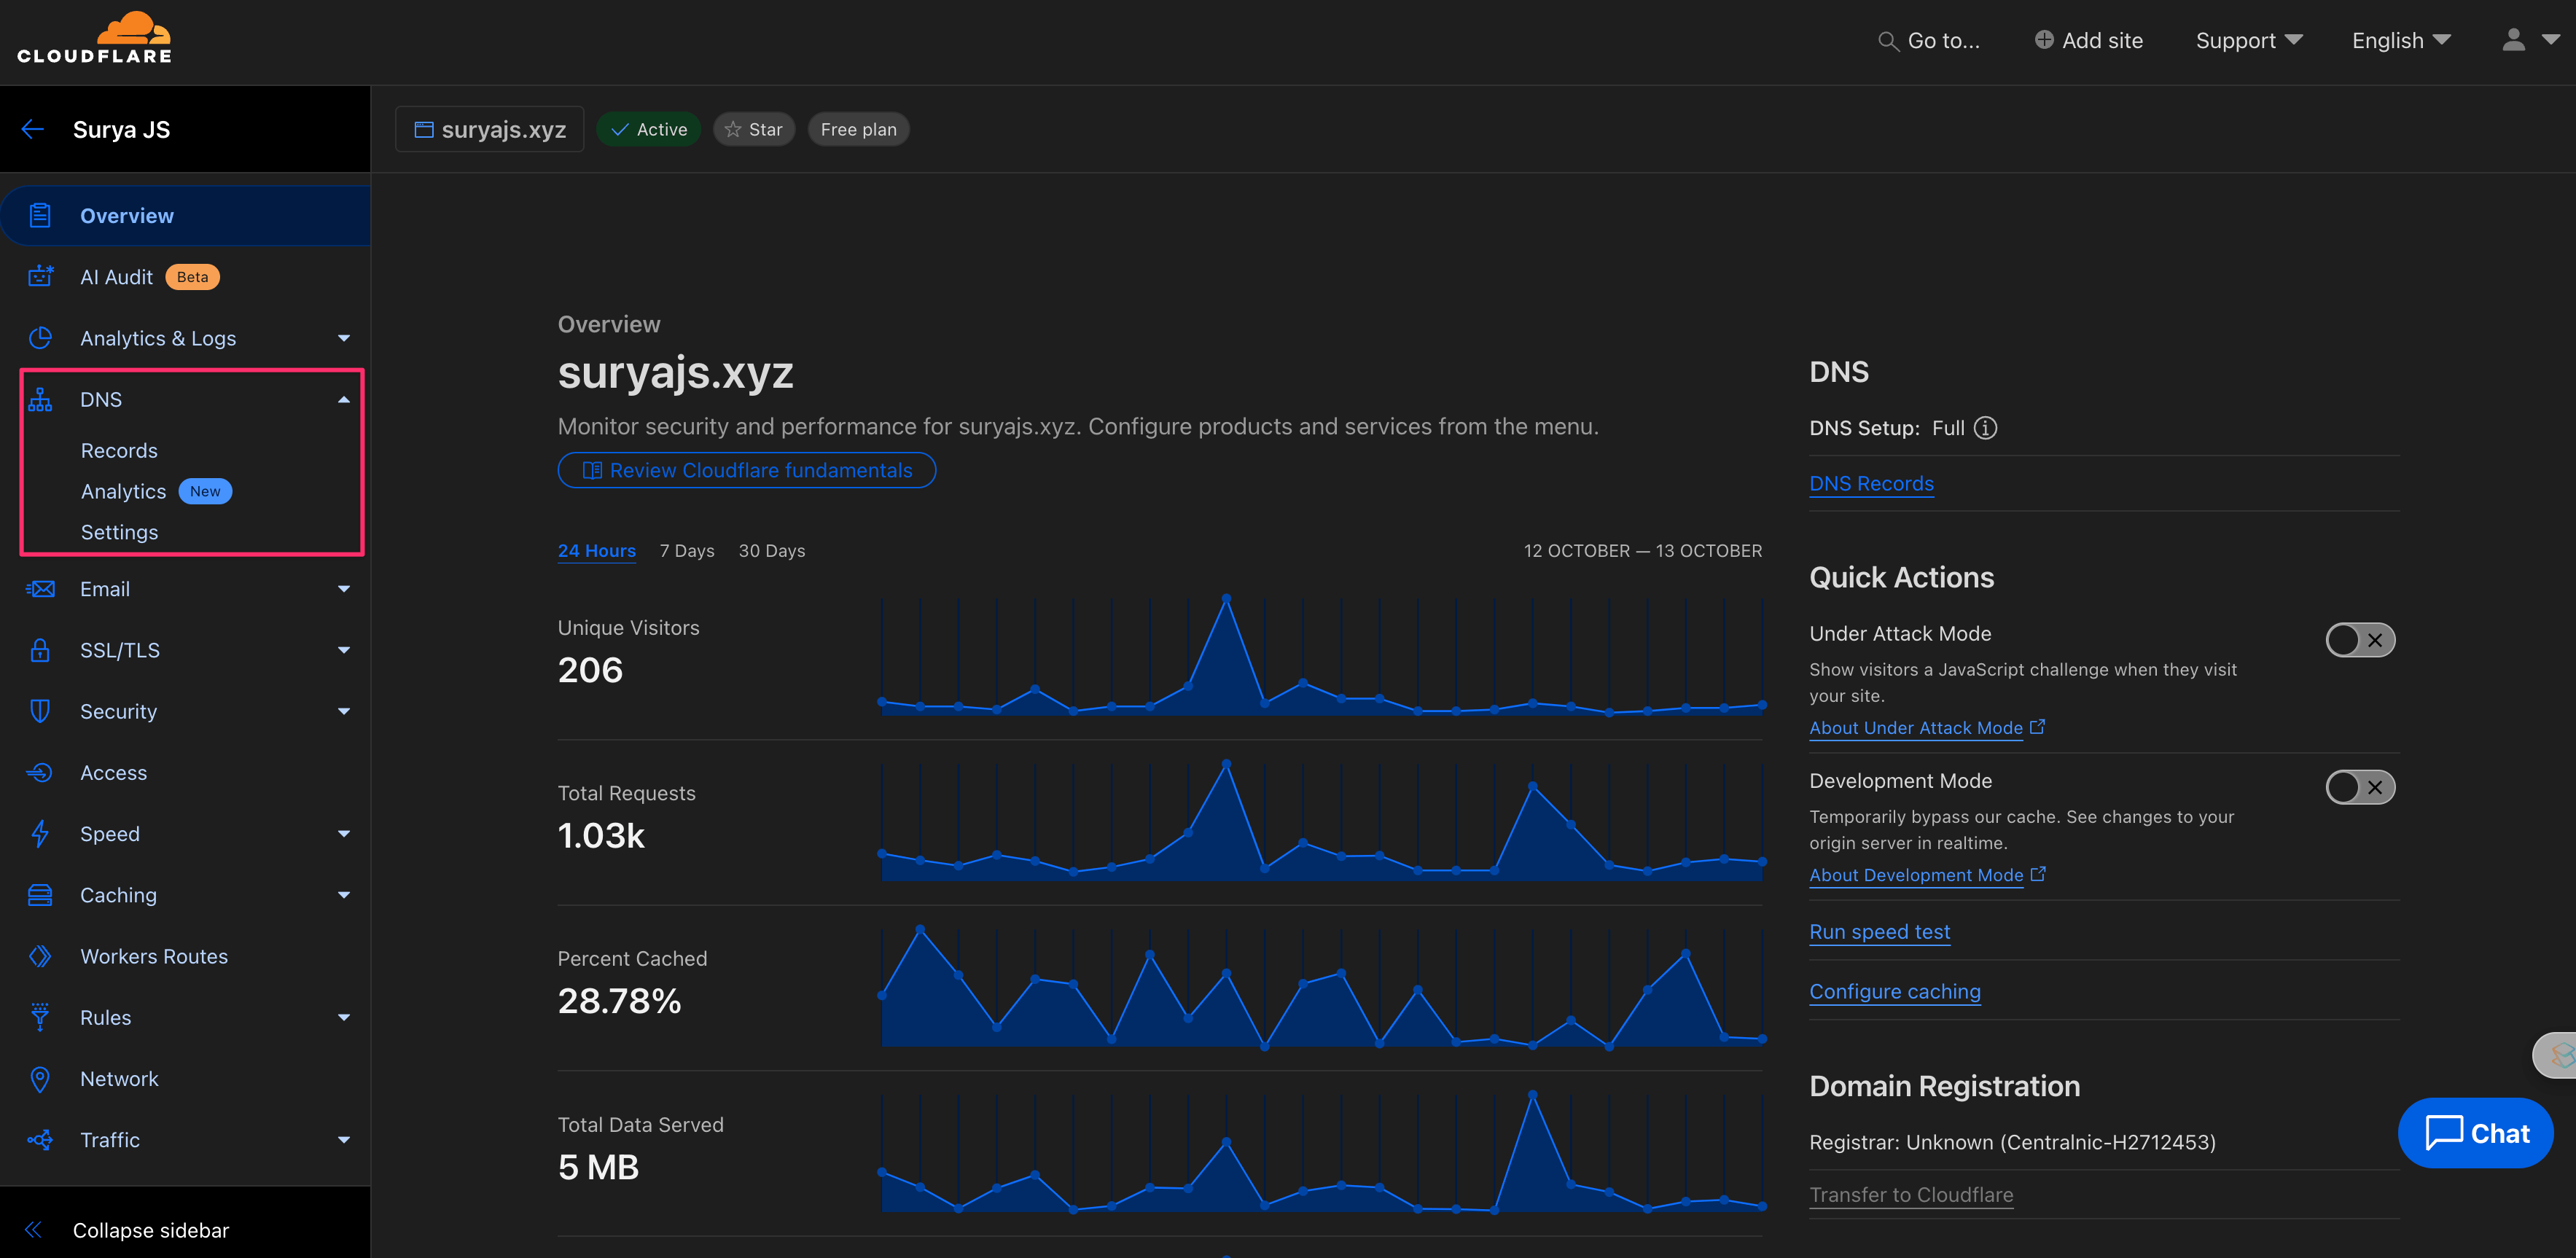
- Add the TXT record exactly as Proton Mail provides it.

- Return to Proton Mail and click Verify.
Depending on DNS propagation, verification may take a few minutes.
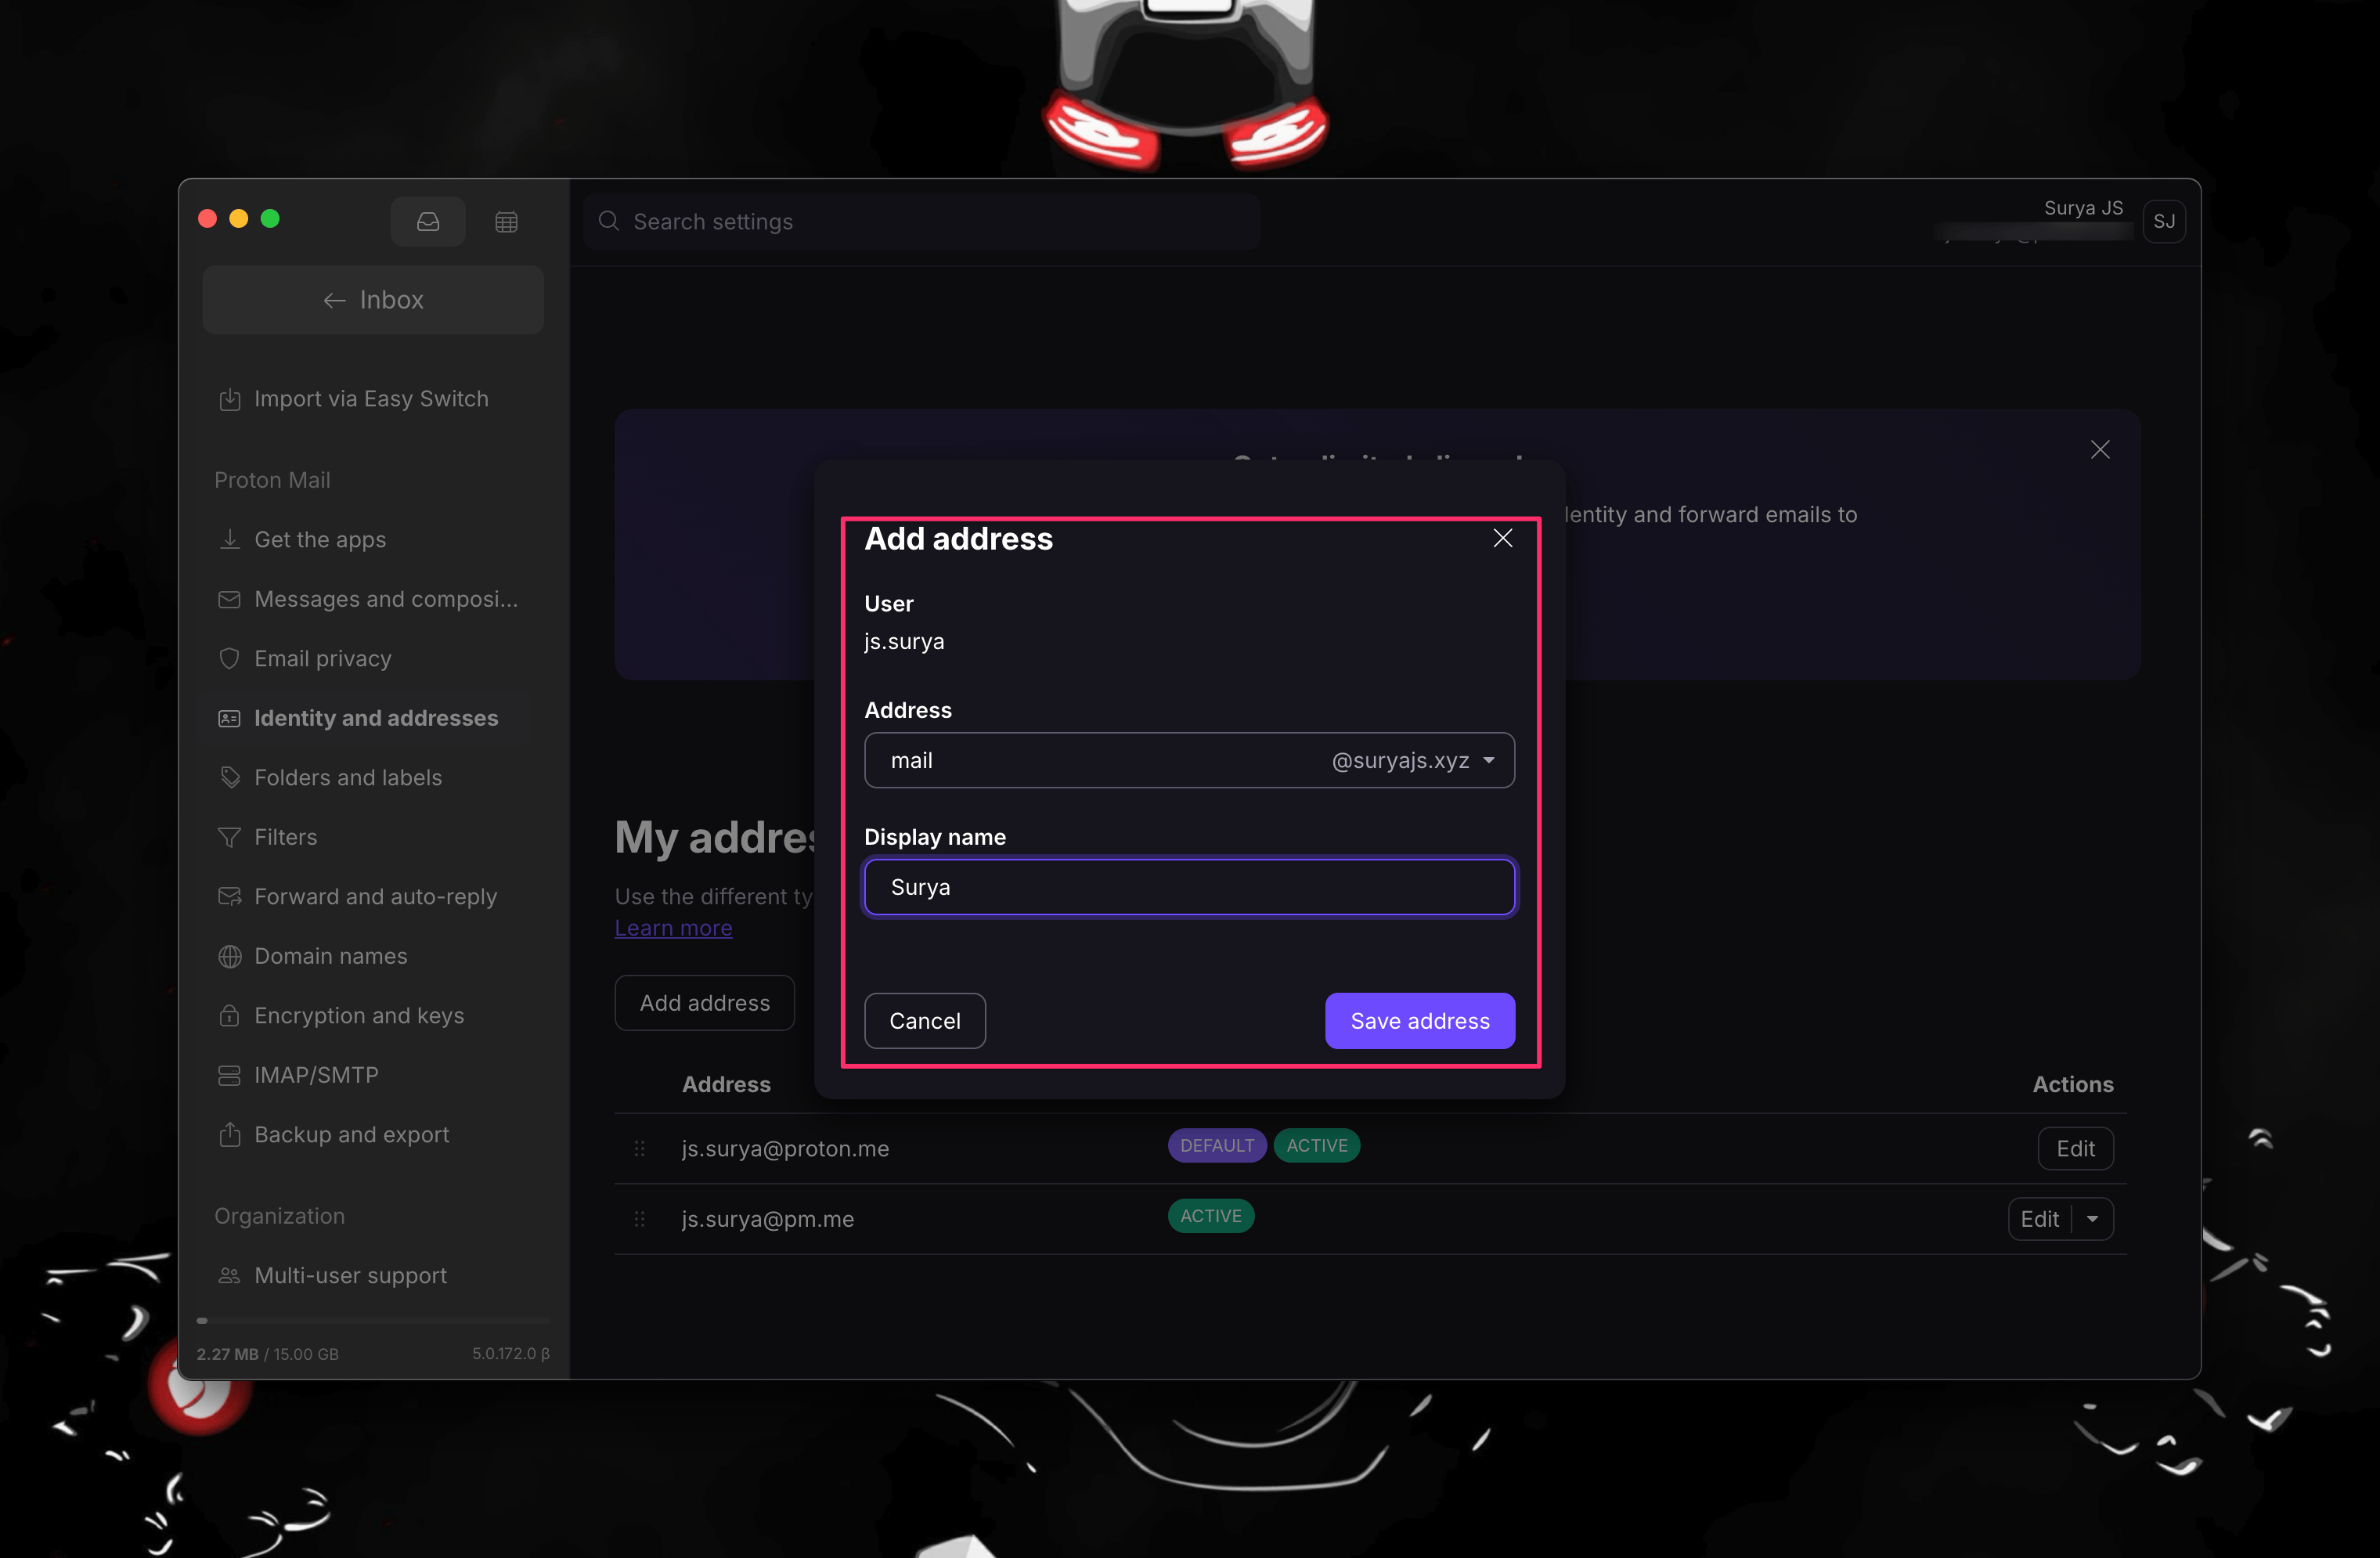
Step 4: Create your email address
Once the domain is verified:
- Go back to the domain settings in Proton Mail.
- Open your custom domain.
- Click Add Address.
- Create the email address you want on that domain.
Step 5: Add the required DNS records
After domain verification, you still need to configure the records that make email delivery and authentication work properly.
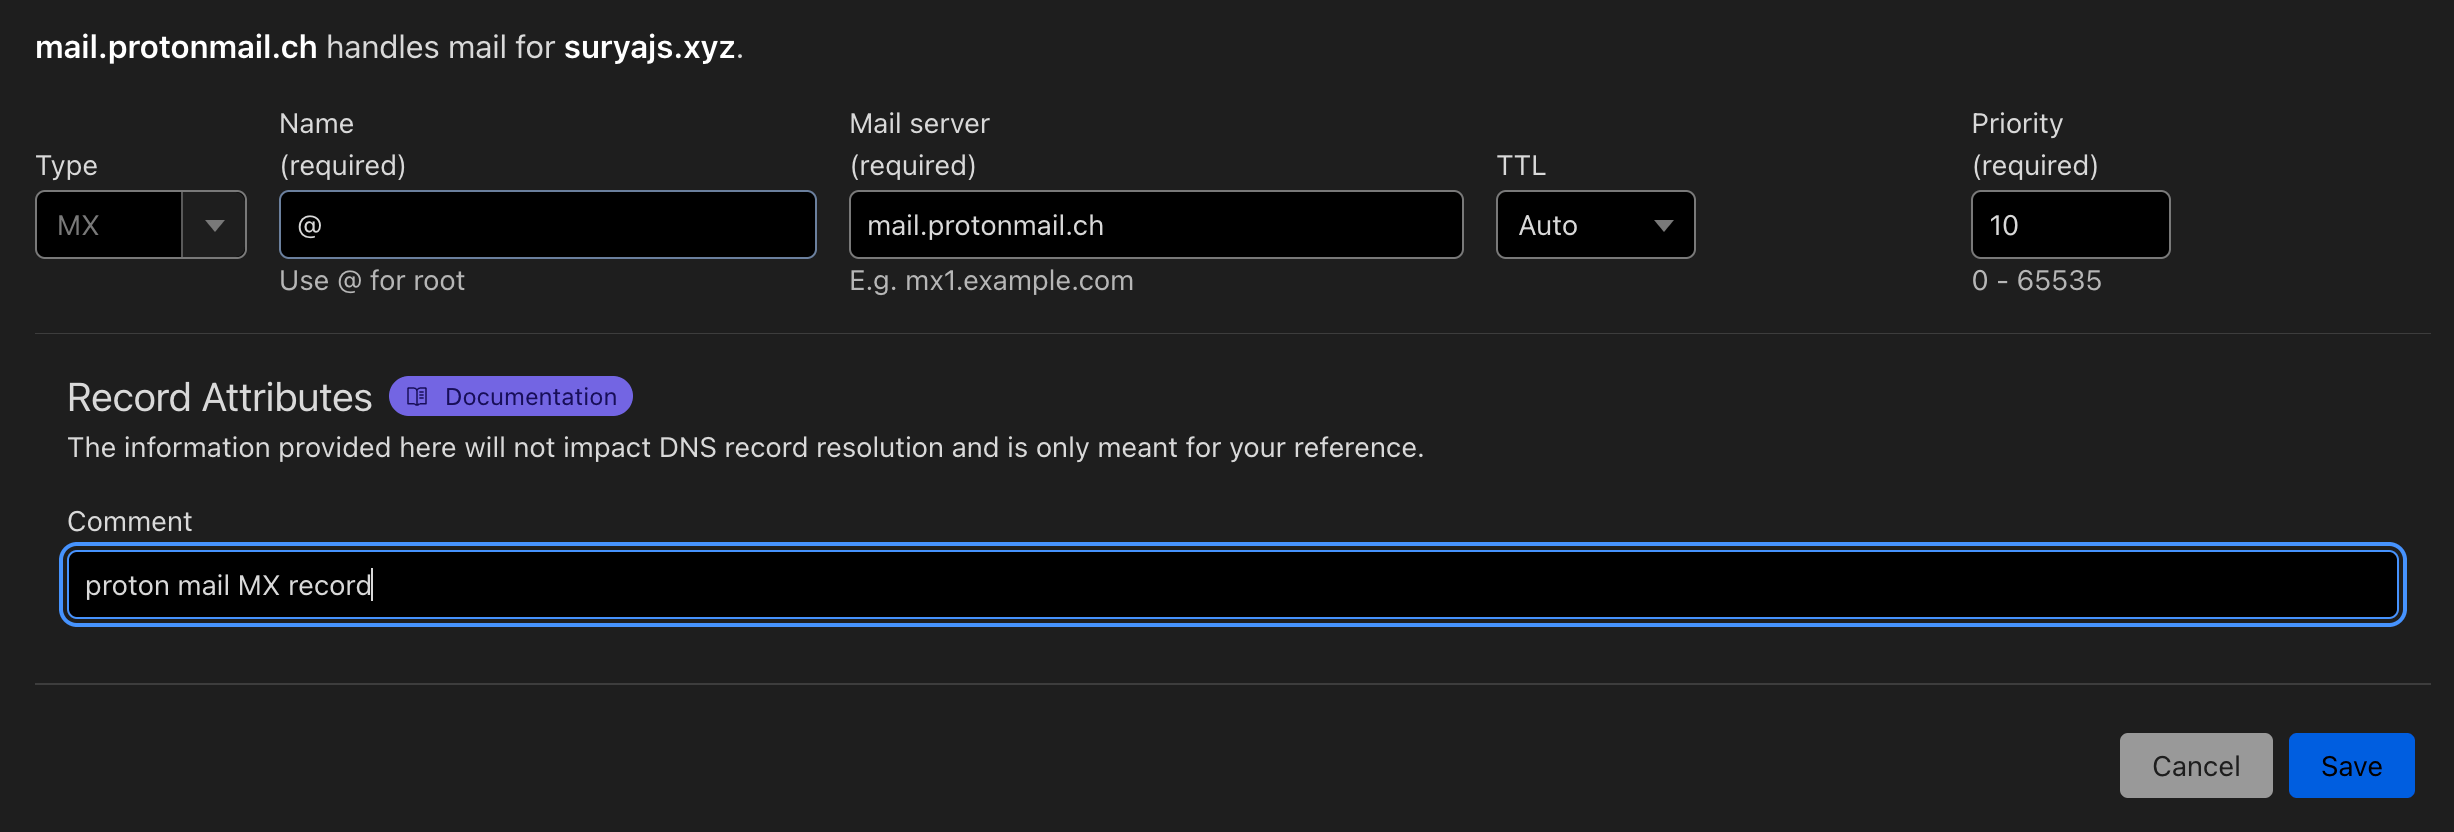
MX records
MX records tell the internet where your domain should receive email.
Add these two MX records:
MX record 1
- Type: MX
- Name/Host:
@ - Mail server:
mail.protonmail.ch - Priority:
10
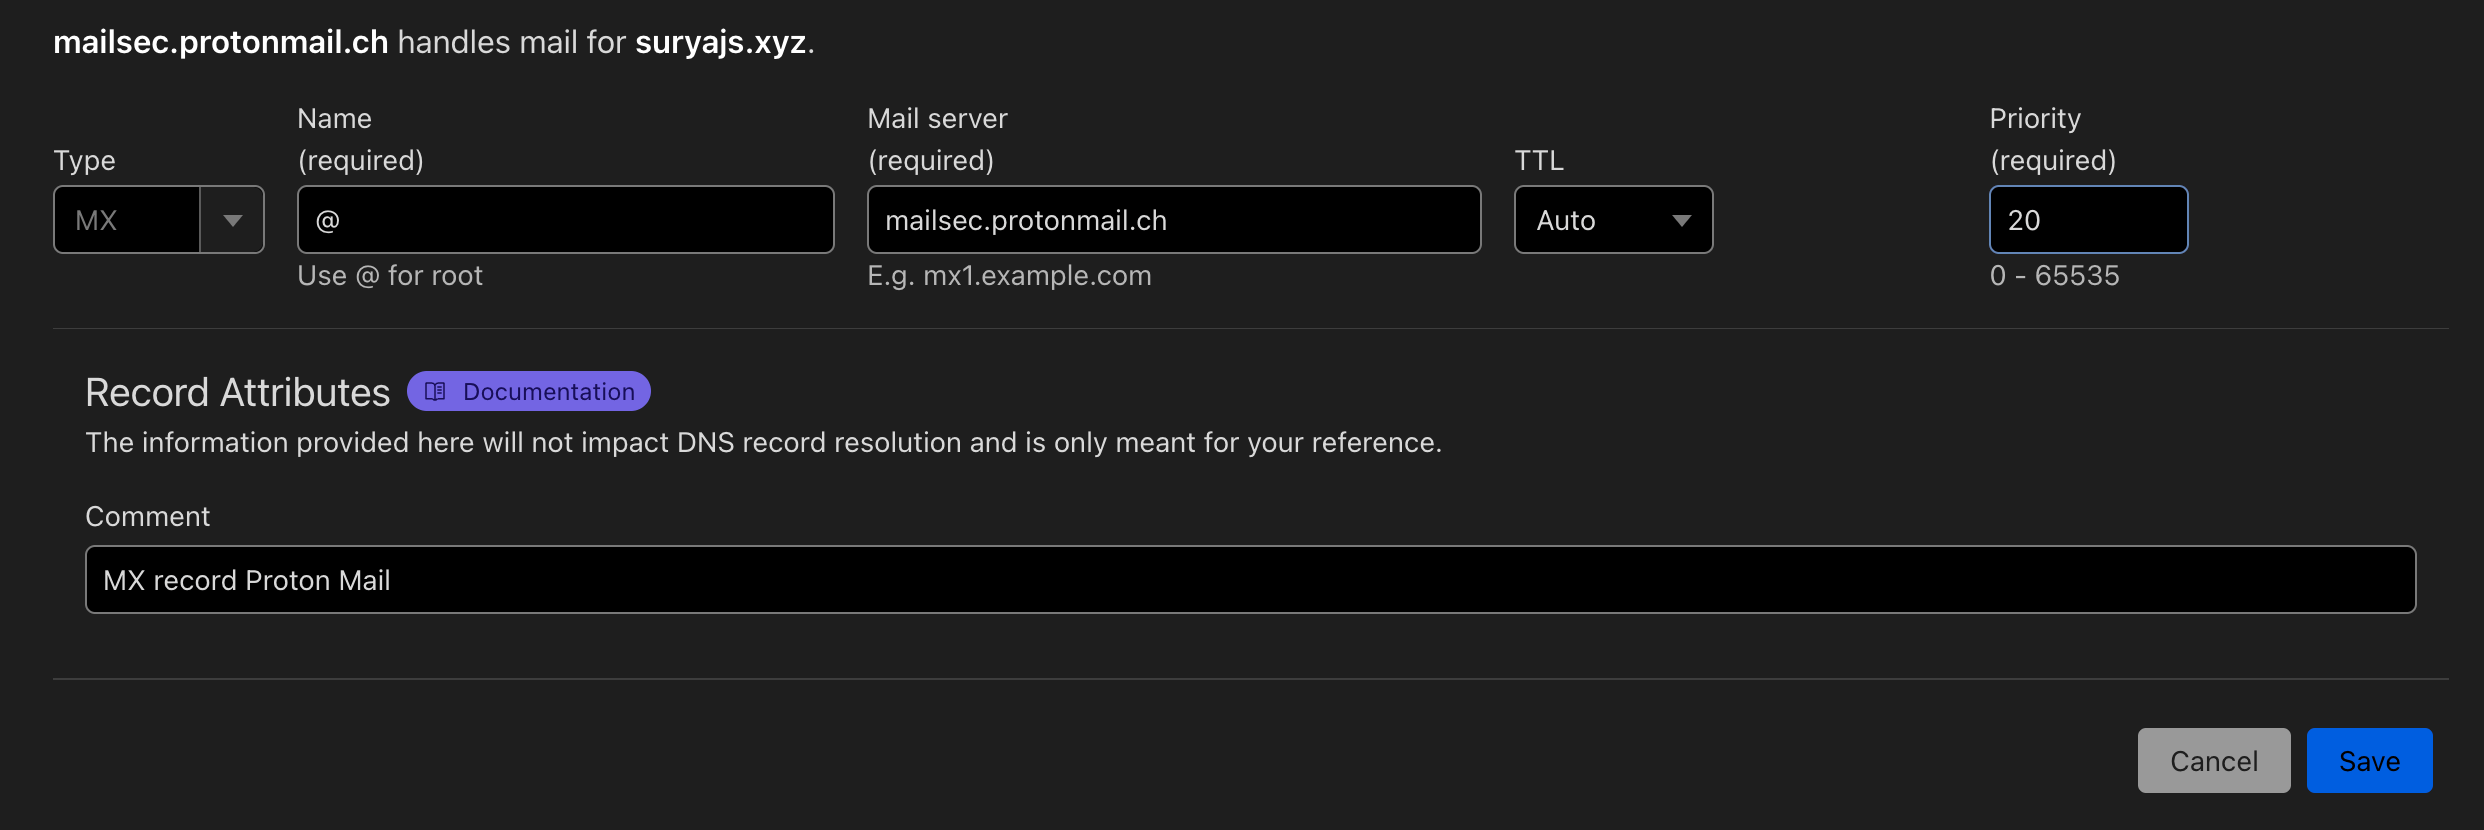
MX record 2
- Type: MX
- Name/Host:
@ - Mail server:
mailsec.protonmail.ch - Priority:
20

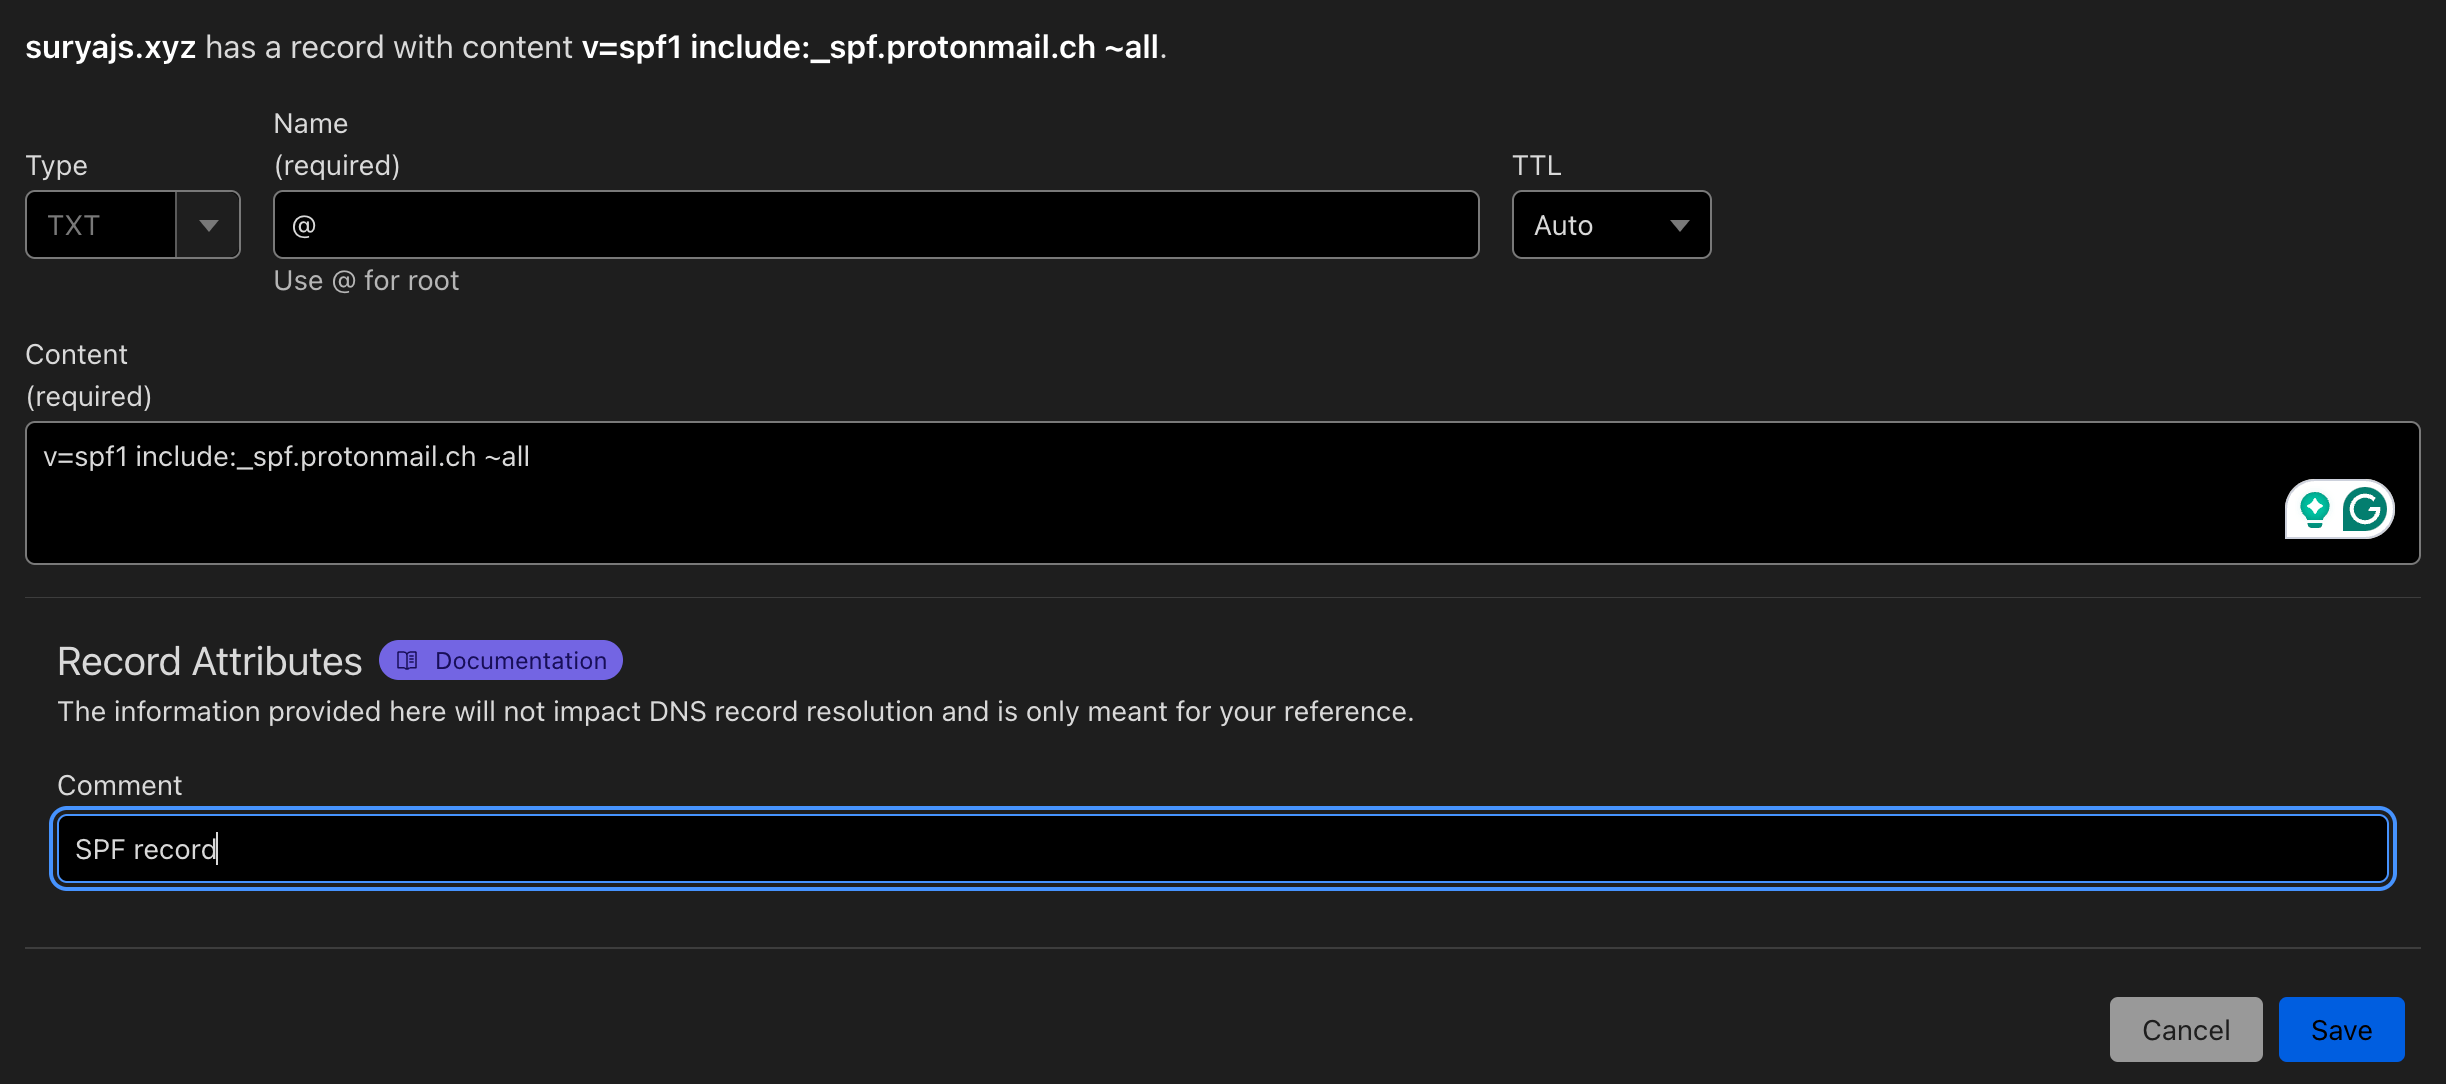
SPF record
SPF helps other mail servers verify that Proton Mail is allowed to send email for your domain.
Add this TXT record:
- Type: TXT
- Name/Host:
@ - Value:
v=spf1 include:_spf.protonmail.ch ~all

DKIM records
DKIM adds a digital signature to your outgoing messages and helps prove they came from your domain.
Proton Mail will show you the DKIM records inside your domain settings.
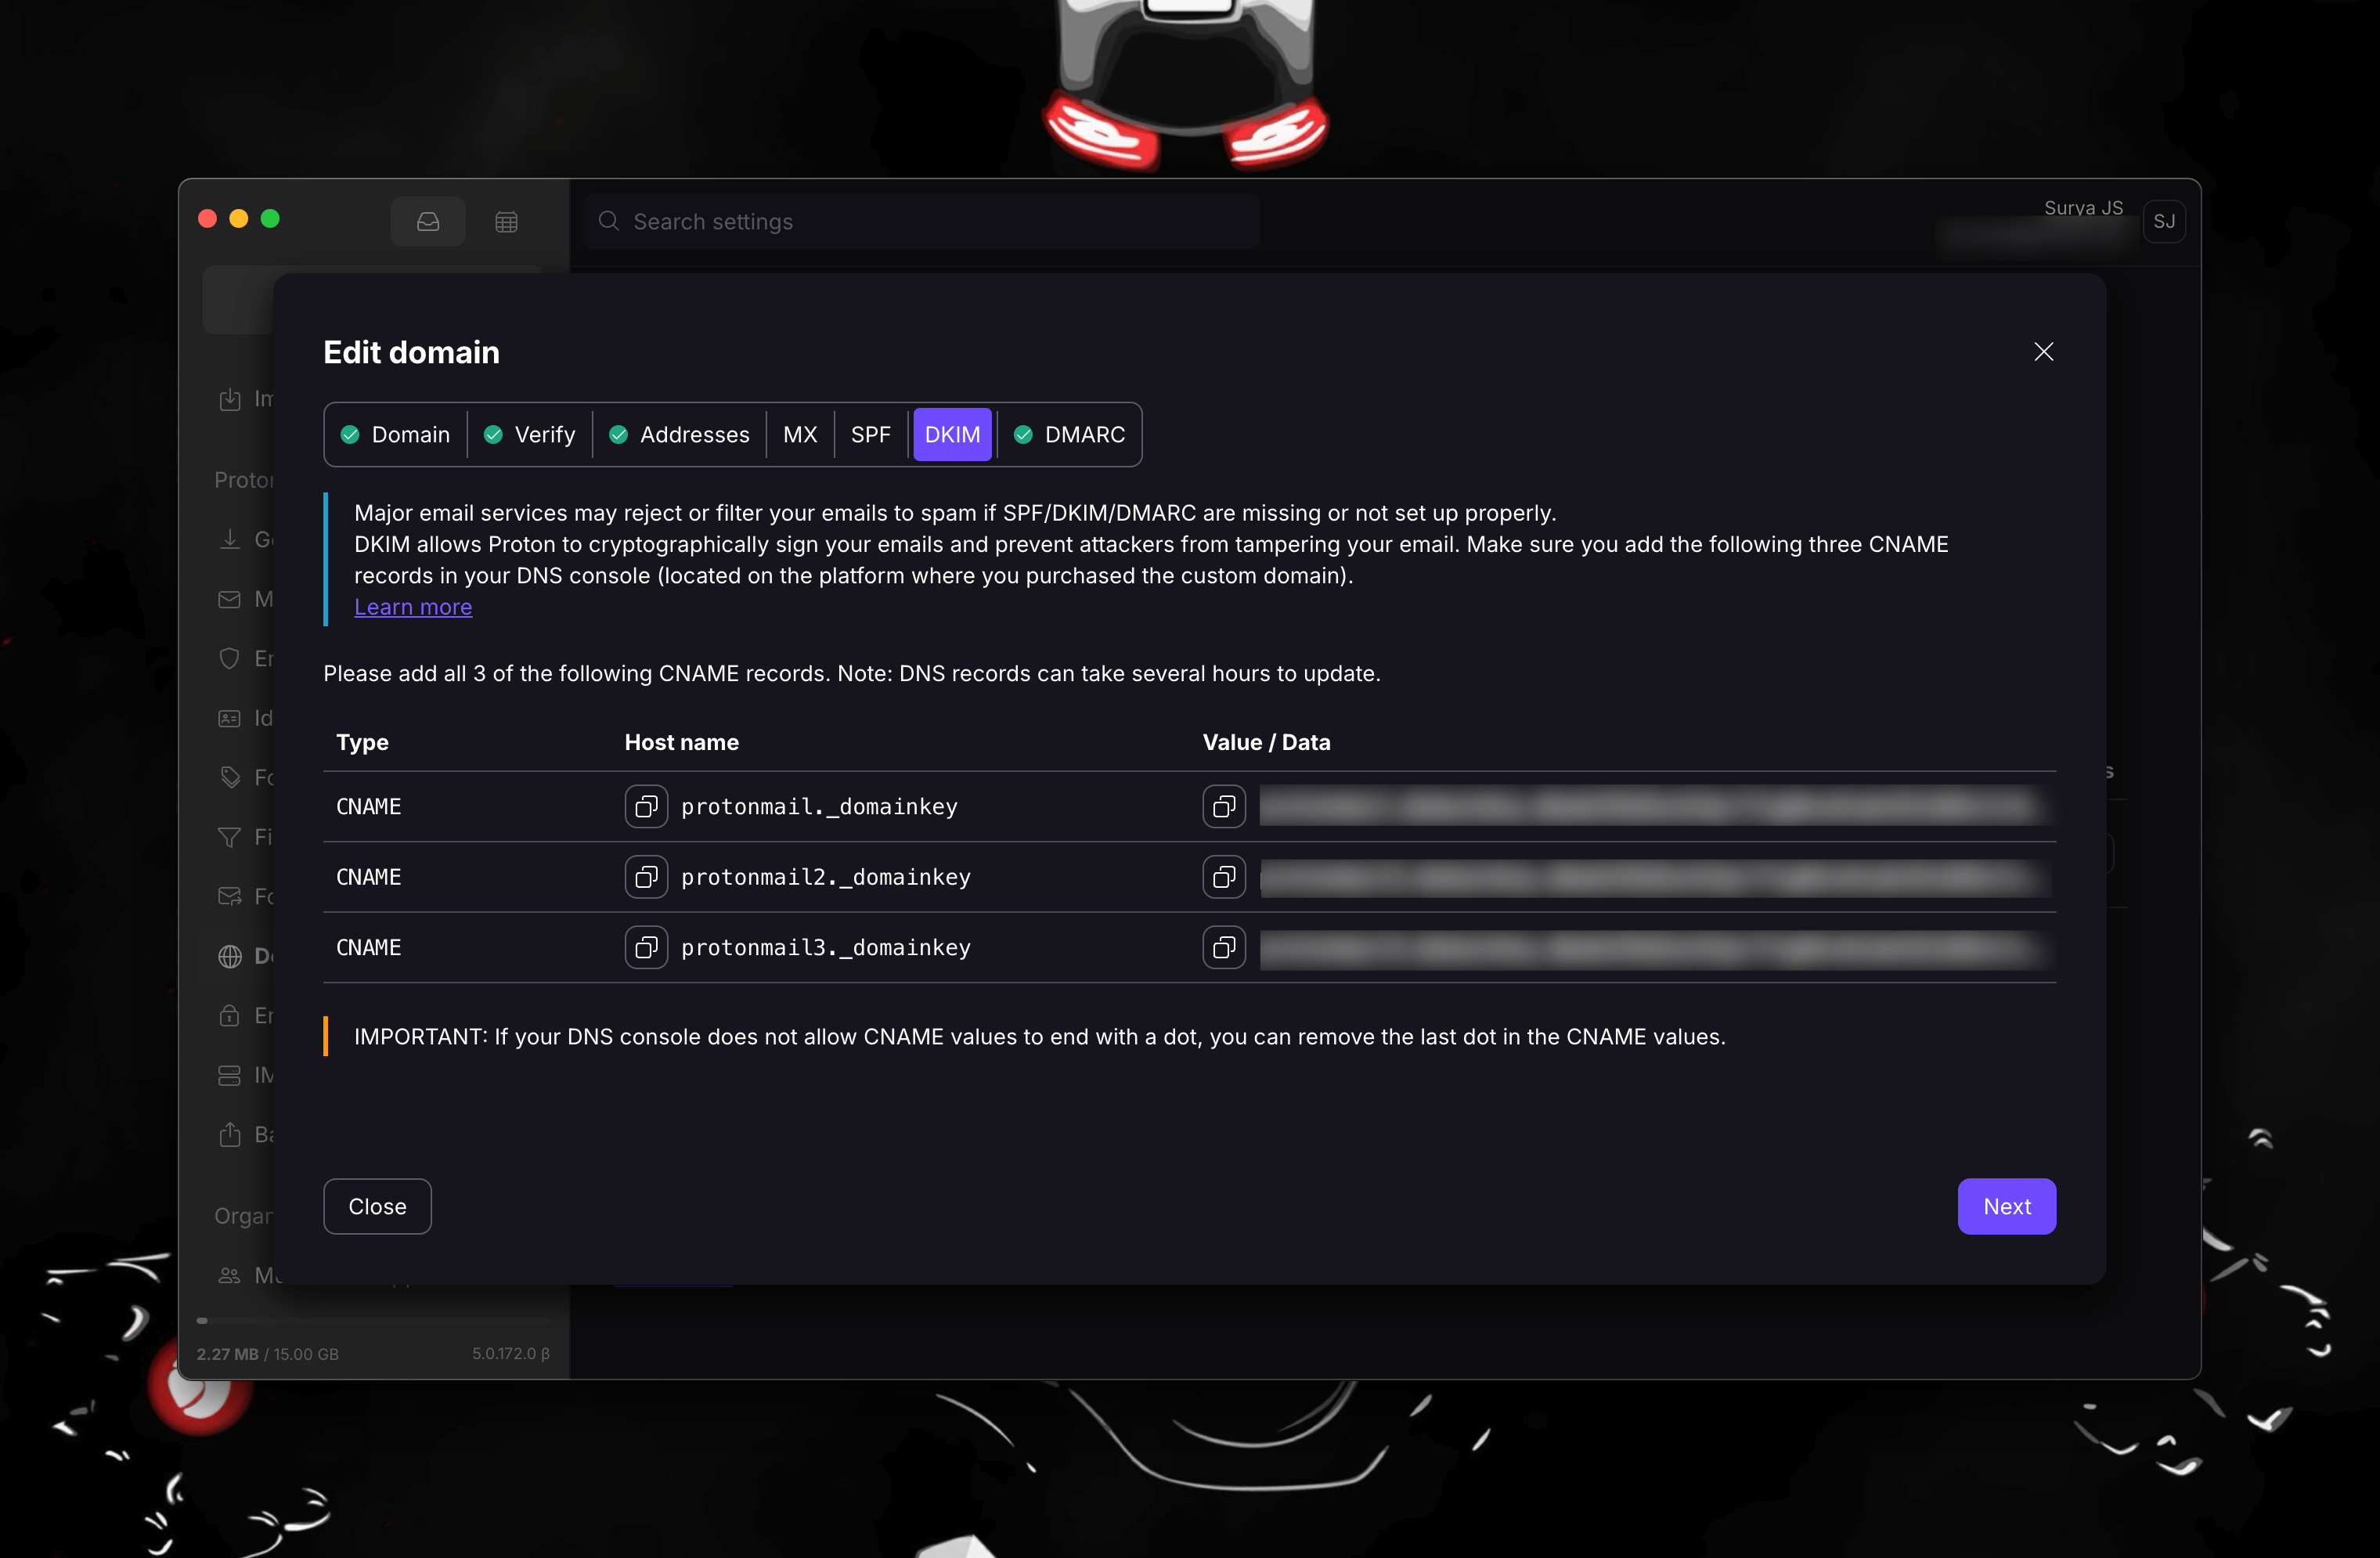
Add the DKIM records Proton Mail gives you, including entries like:
protonmail._domainkeyprotonmail2._domainkeyprotonmail3._domainkey
Use the public key value provided by Proton Mail for each record.
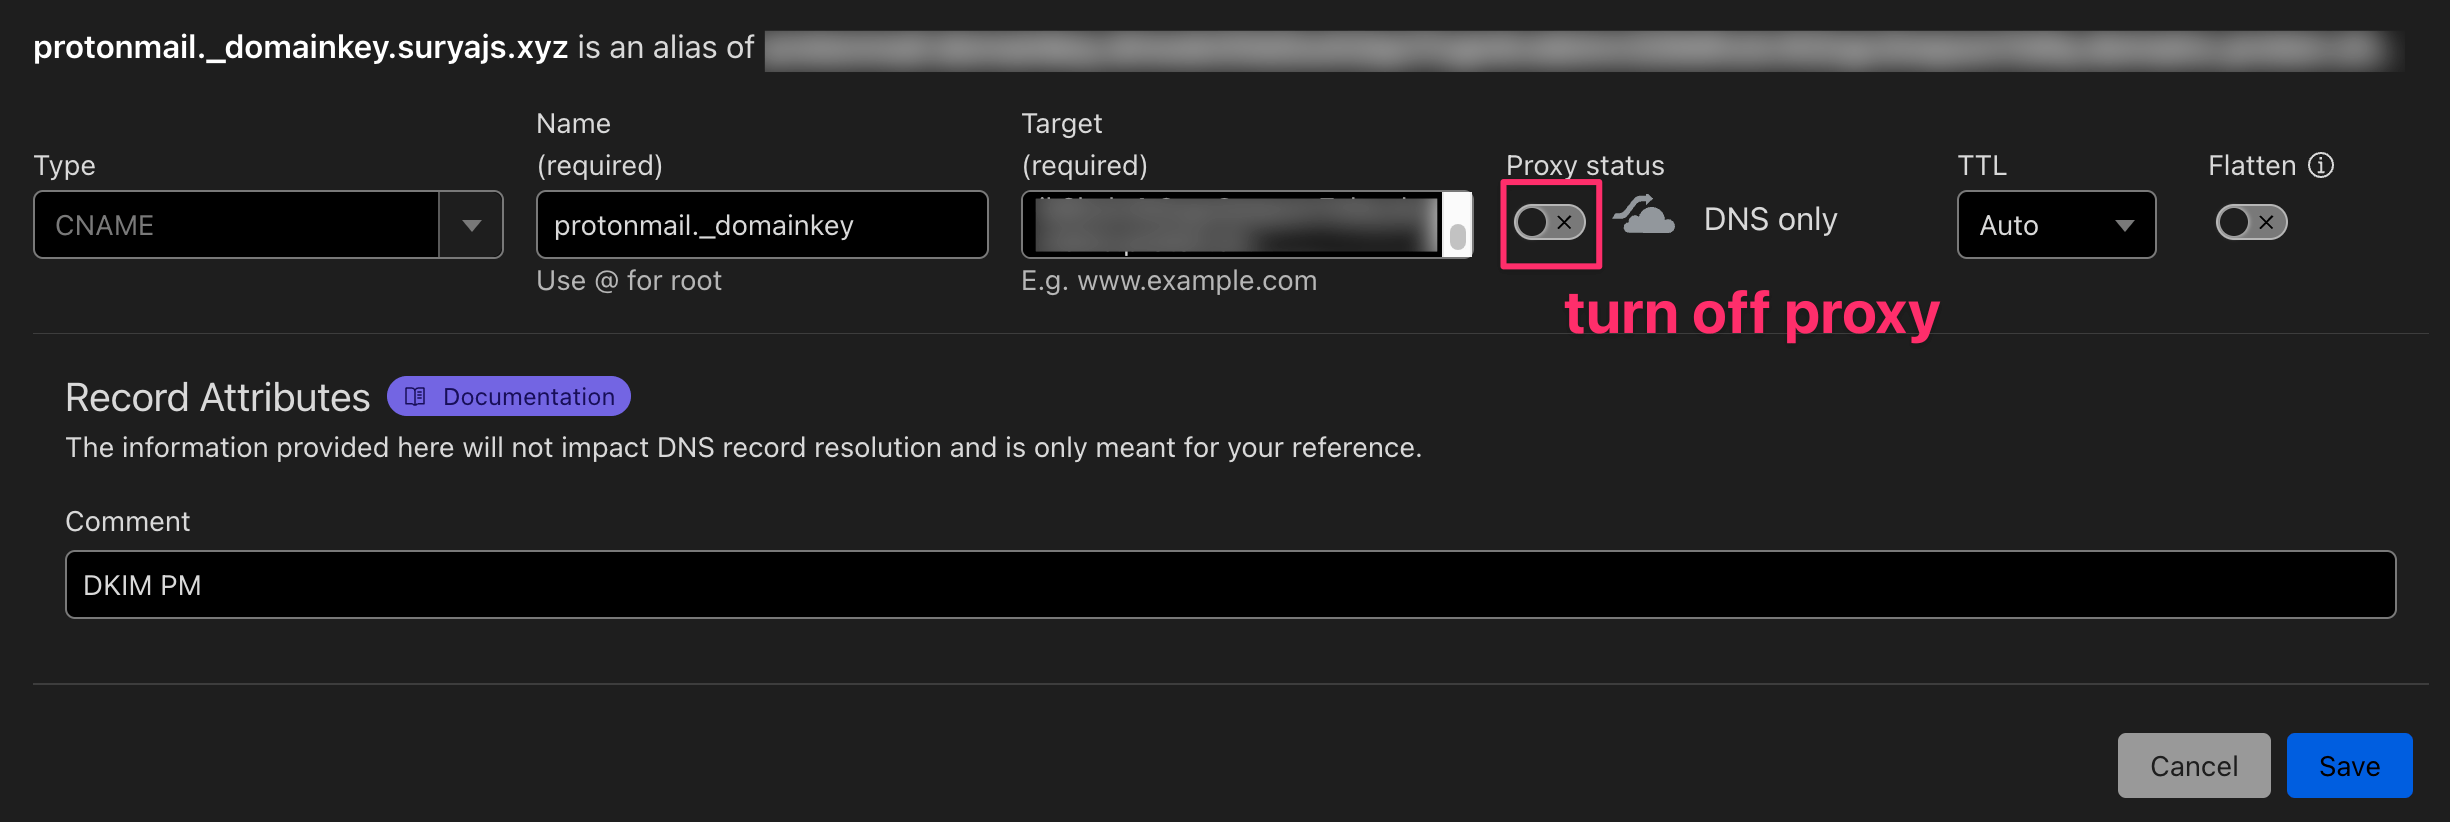
Important: if you are using Cloudflare, make sure these DNS records are DNS only and not proxied.

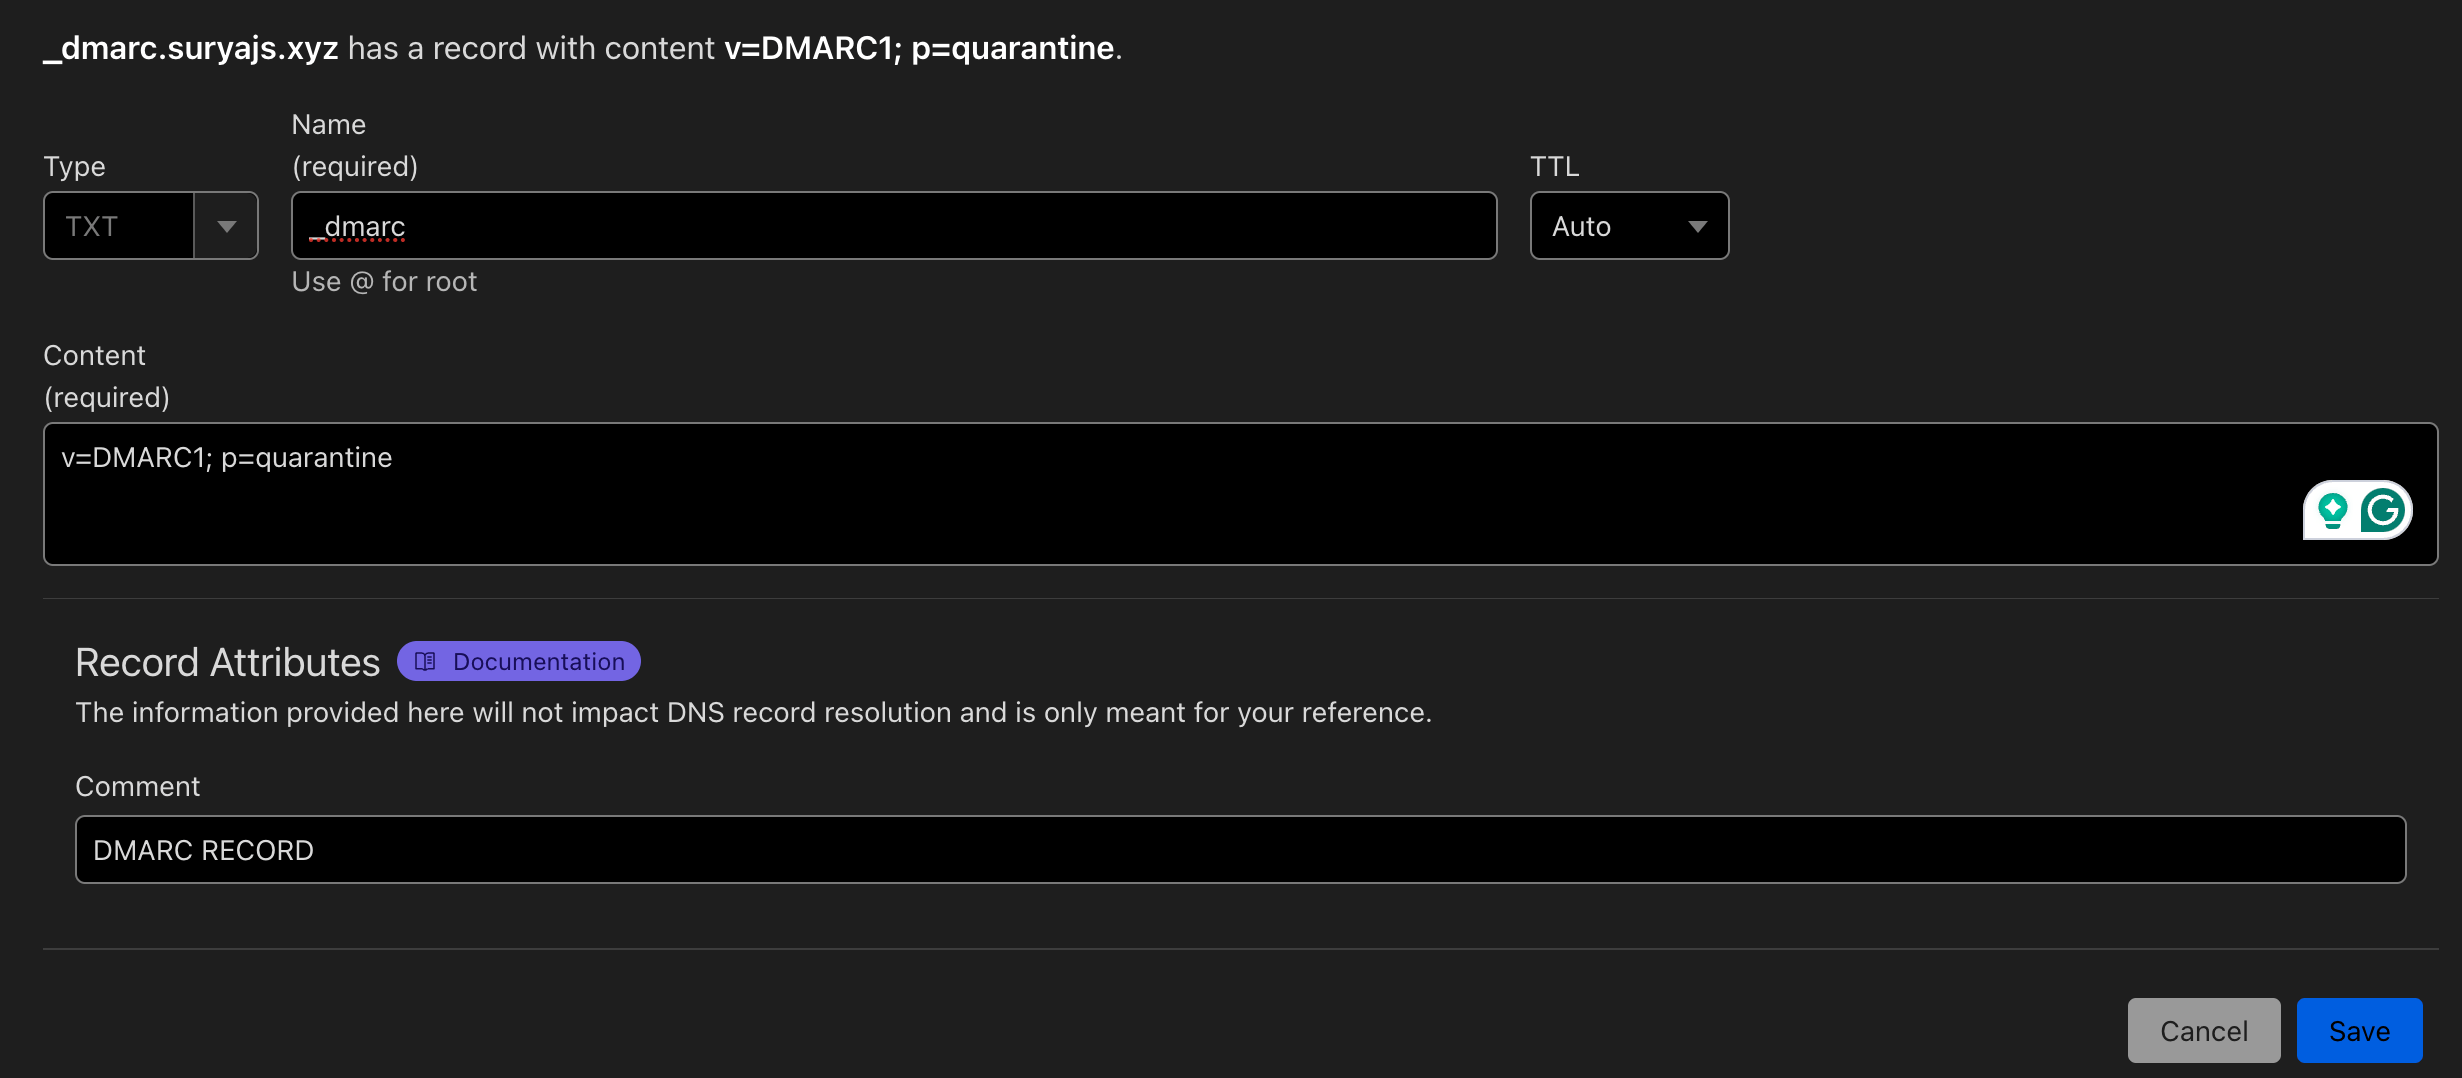
DMARC record
DMARC tells receiving mail servers what to do if SPF or DKIM checks fail.
Add this TXT record:
- Type: TXT
- Name/Host:
_dmarc - Value:
v=DMARC1; p=quarantine
Step 6: Wait for DNS propagation
After adding all the records, give DNS some time to update. This can take anywhere from a few minutes to several hours depending on propagation.
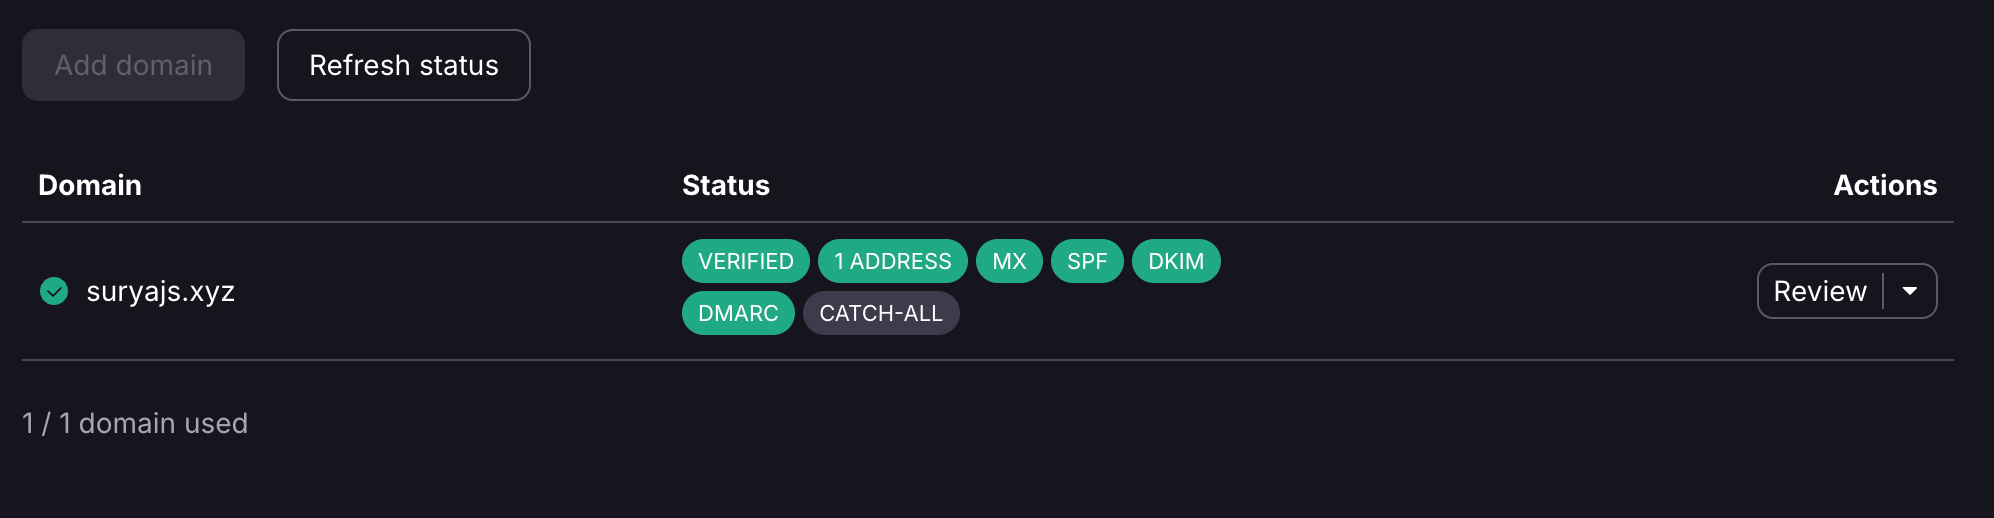
Step 7: Verify everything in Proton Mail
Once the DNS records have had time to propagate:
- Go back to Proton Mail.
- Open your domain settings again.
- Check whether Proton Mail marks the records as valid.
Step 8: Test the email address
Finally, send a few test emails:
- send one from your new address
- send one to your new address
- check both sending and receiving
If both work, the setup is complete.
Final thoughts
Using Proton Mail with a custom domain is a nice balance between privacy and professionalism. Once the DNS records are in place, the setup is straightforward, and you end up with an address that feels much more personal and durable than a standard provider email.
If you want more control over your online identity, this is a setup worth having.